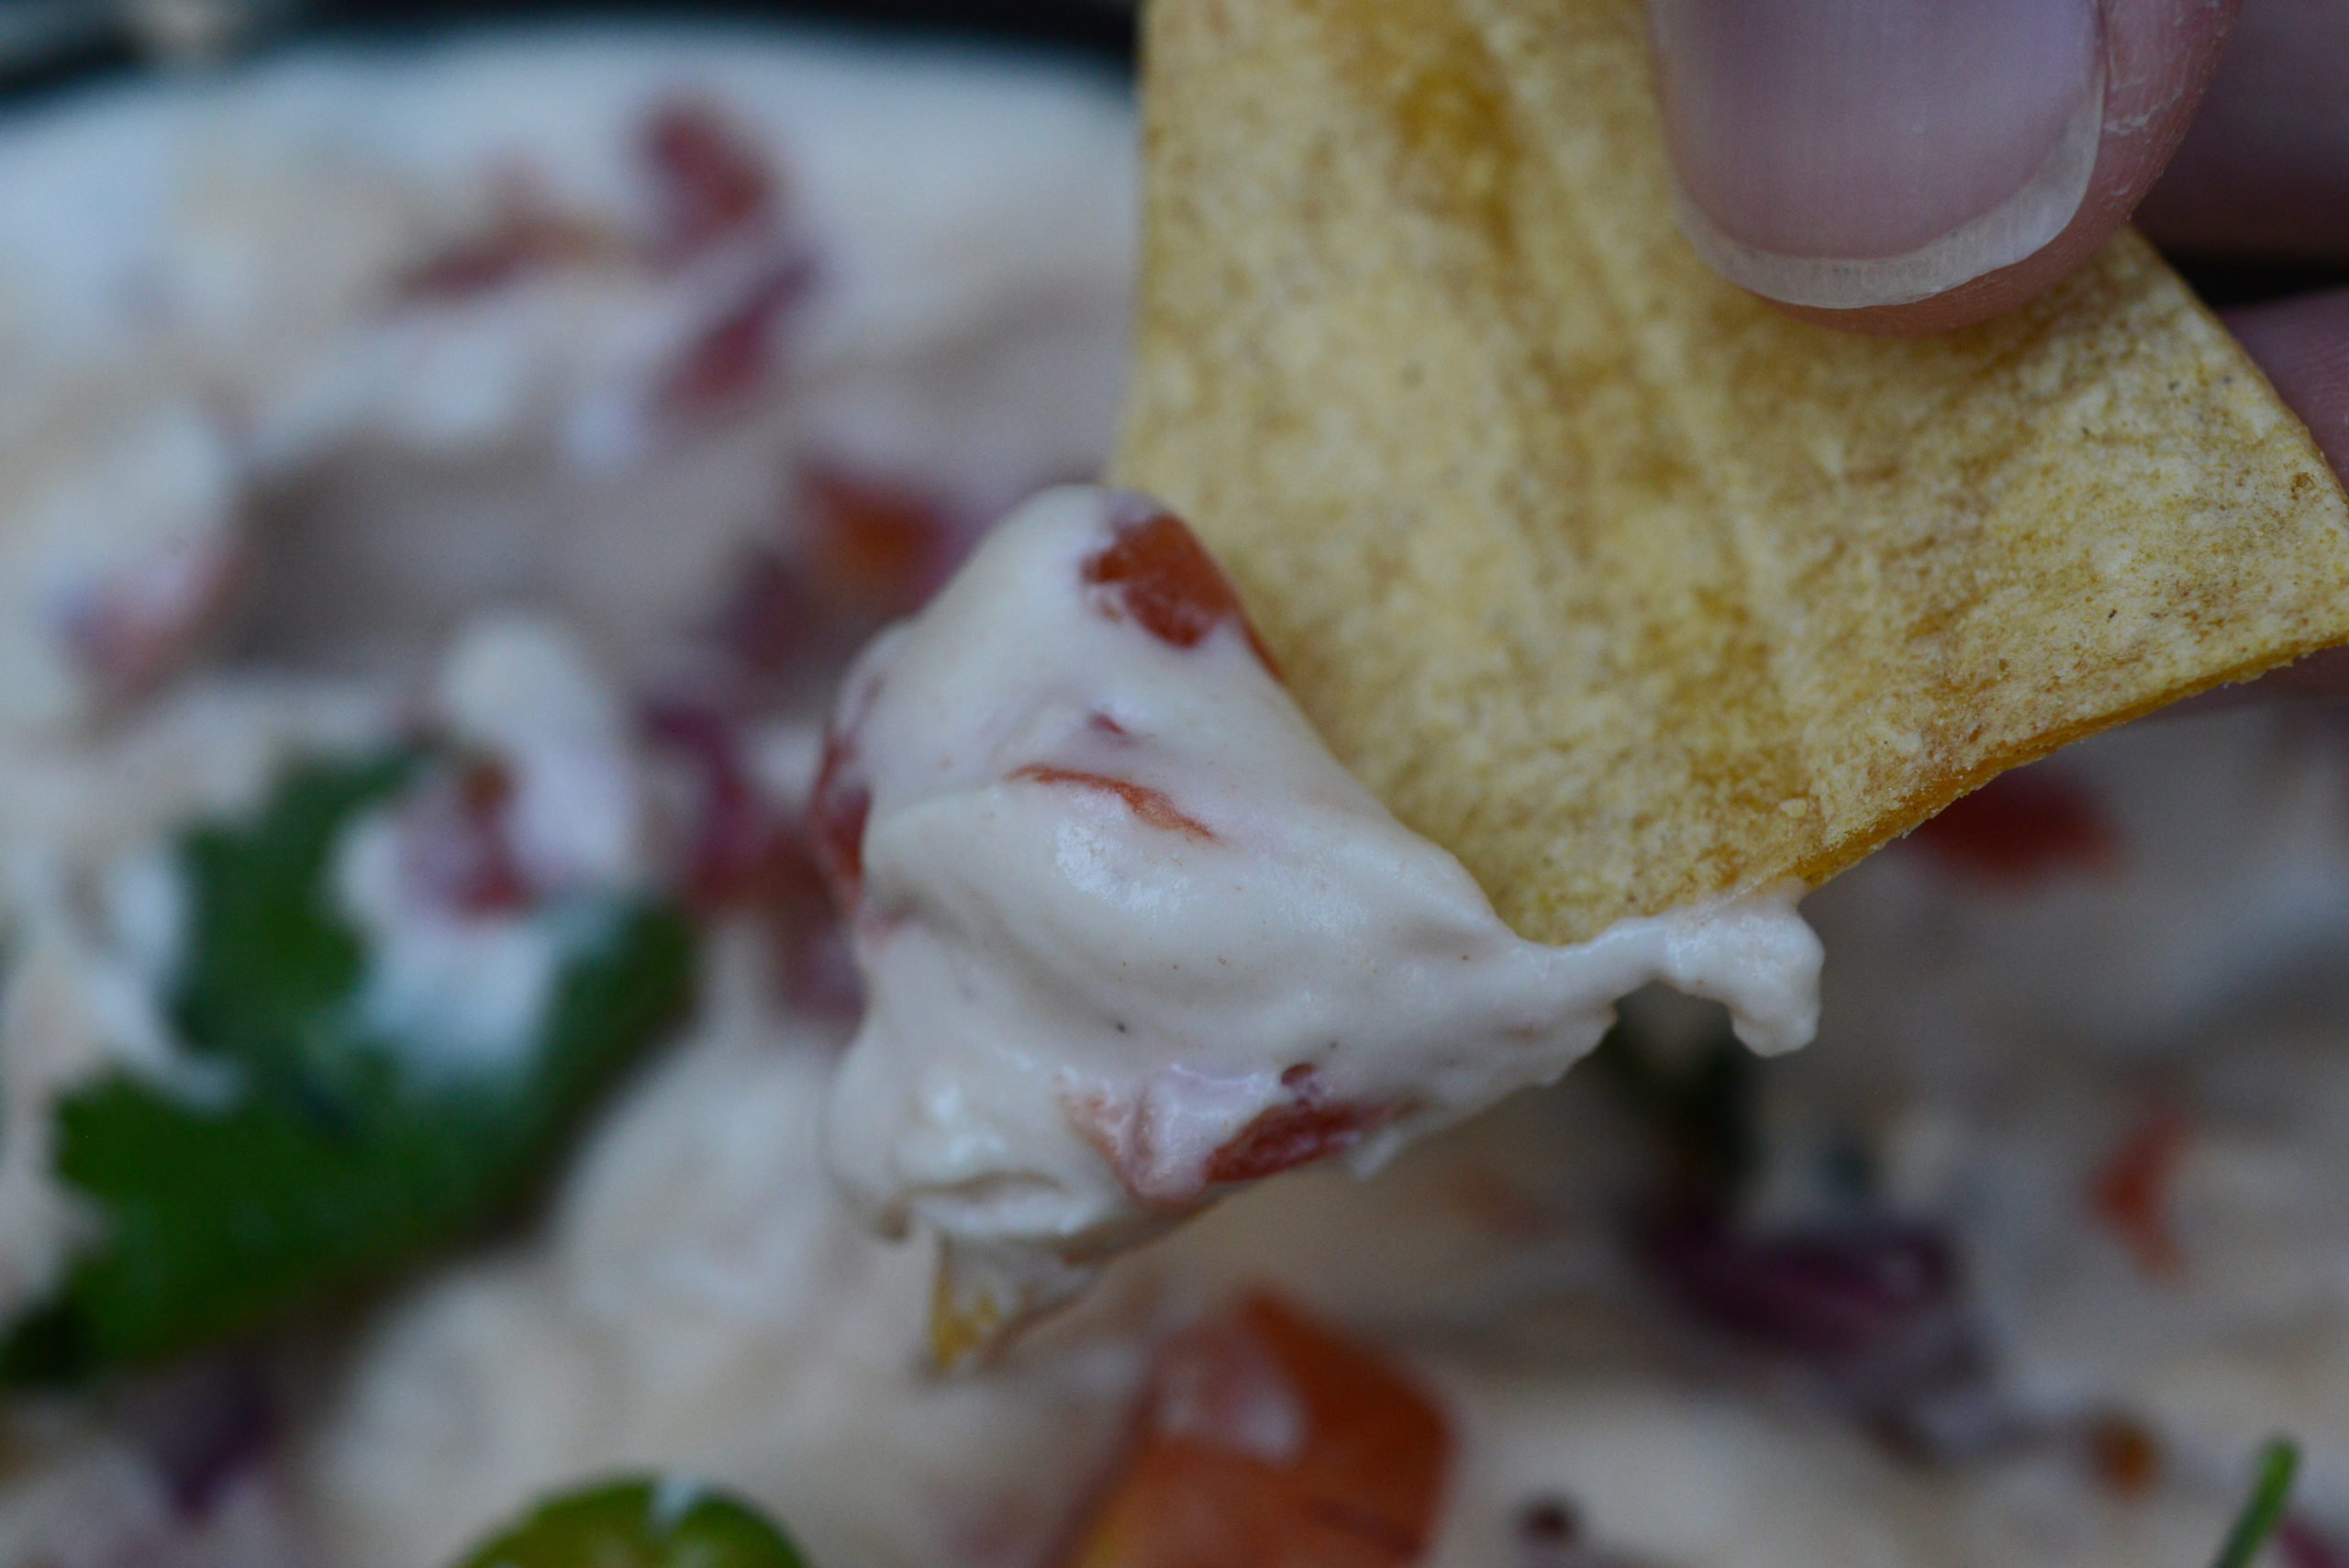
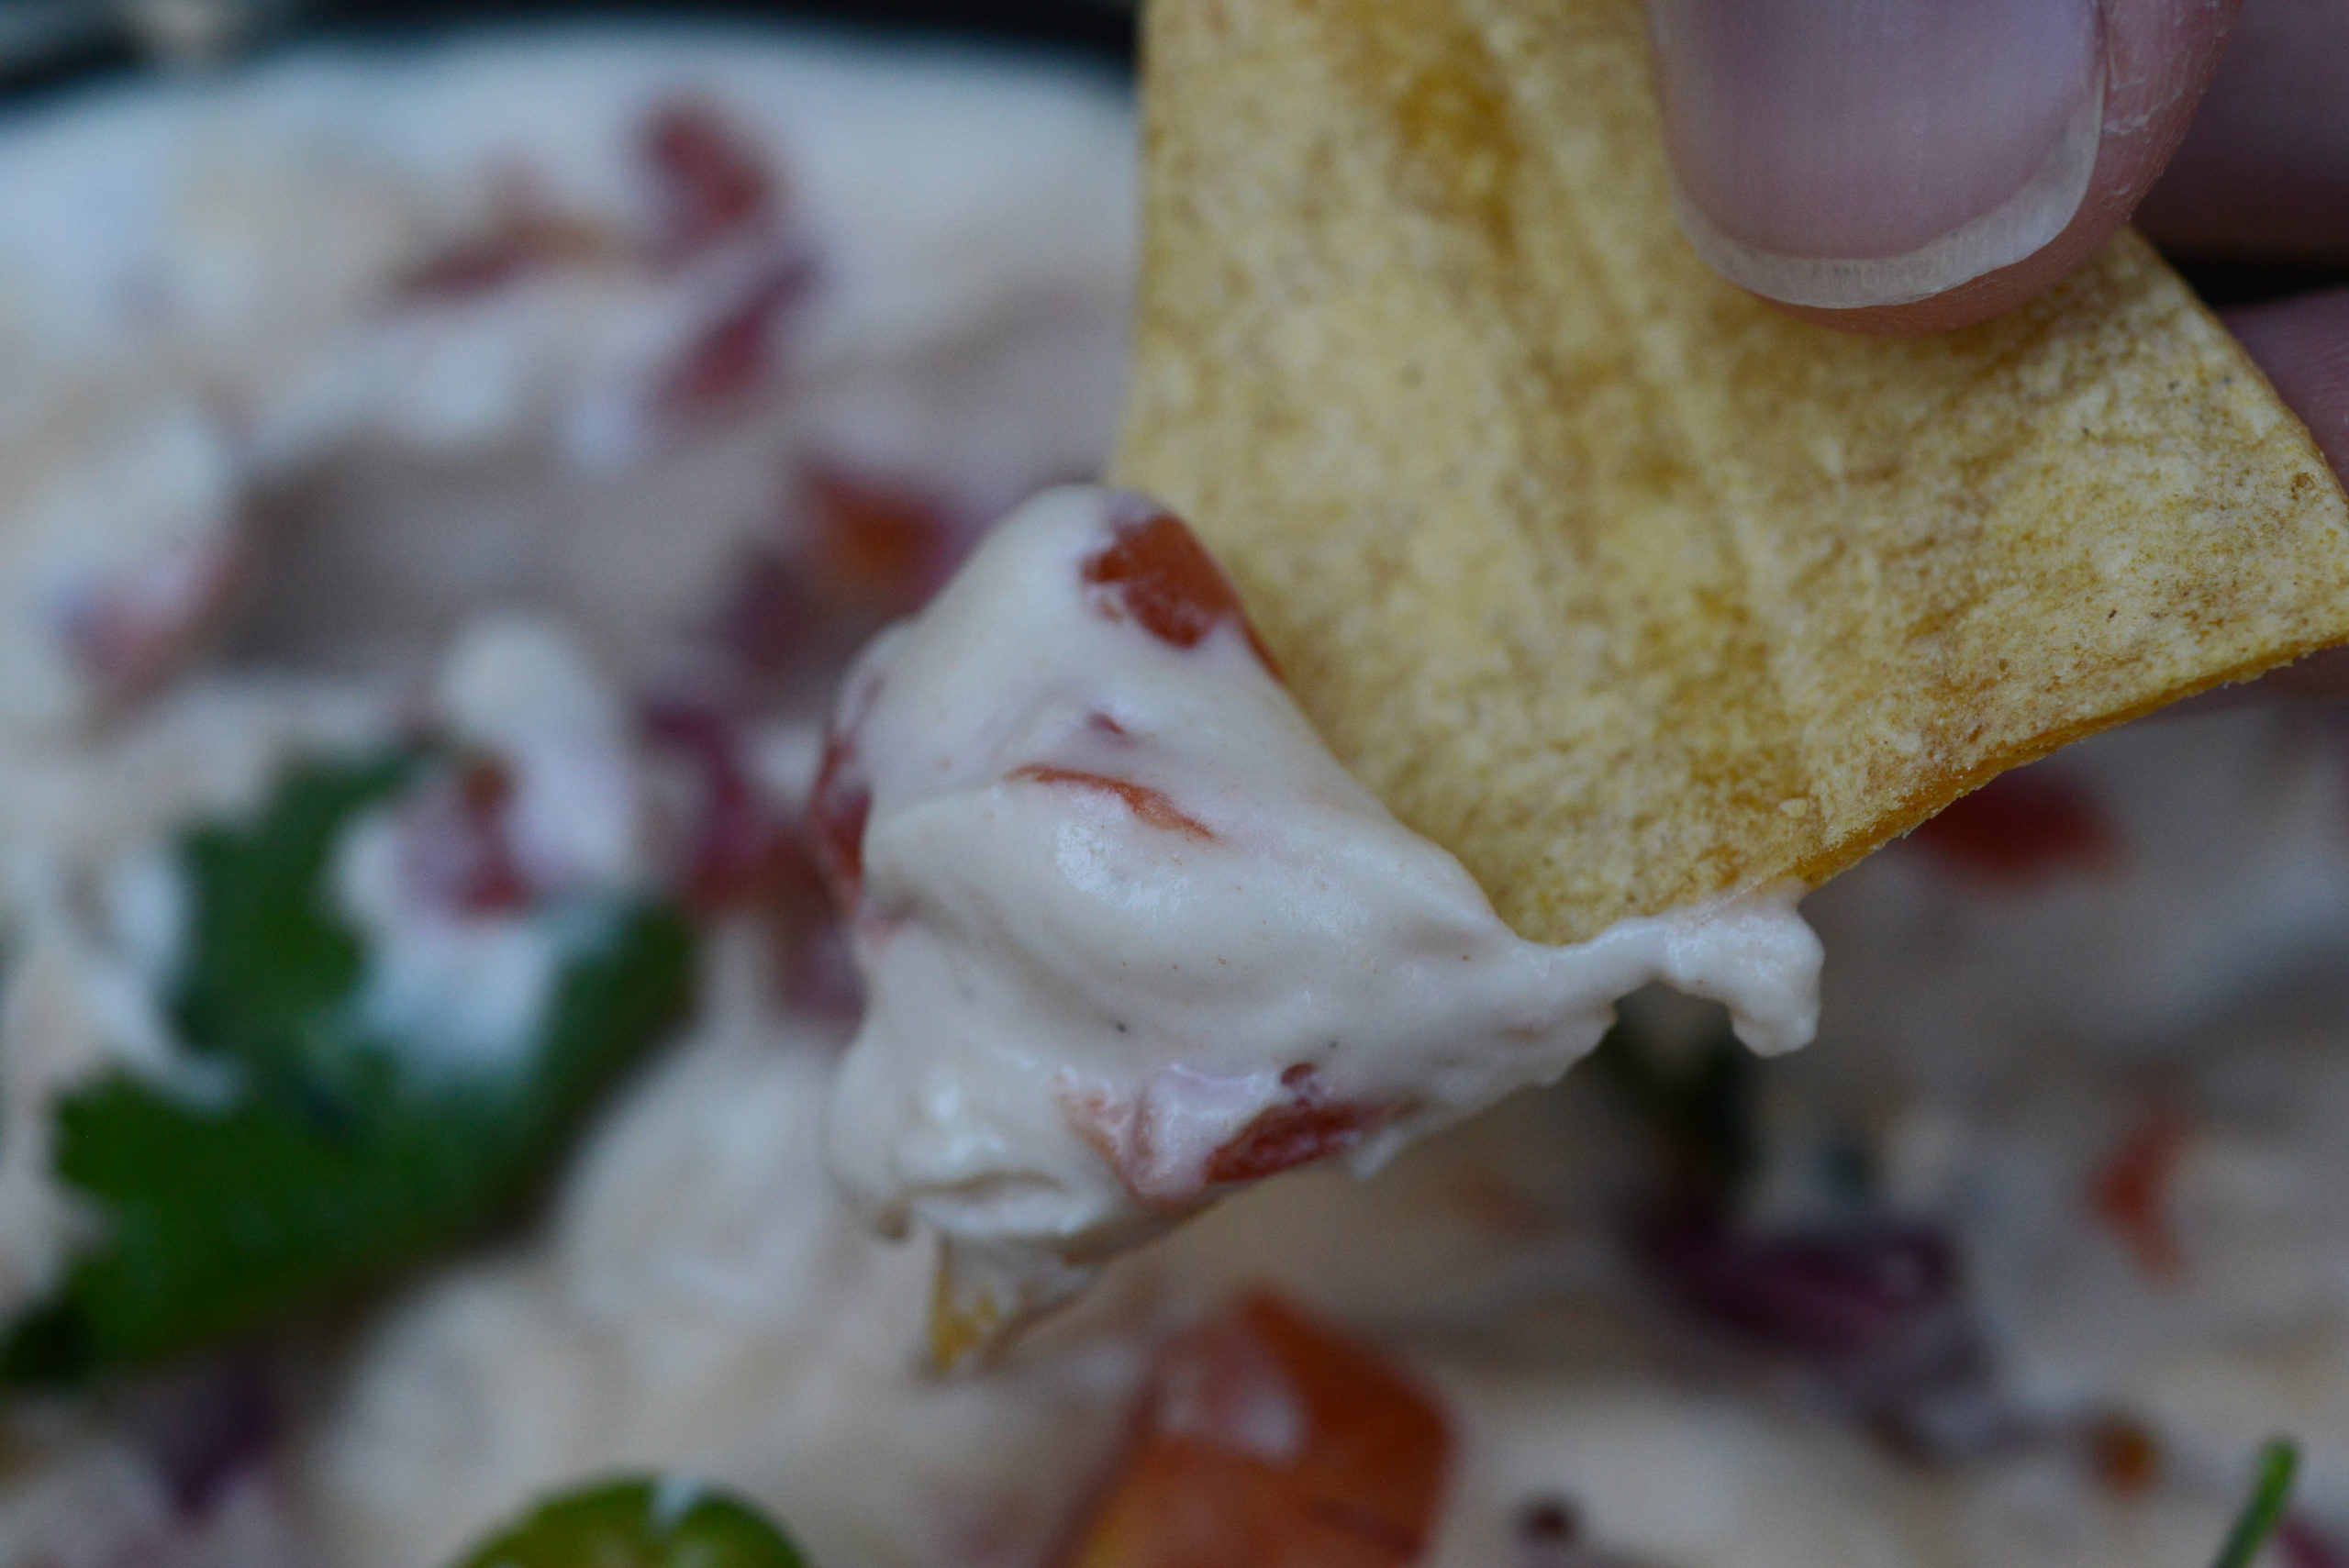
This best ever vegan queso dip is going to rock your world. A warm skillet filled with delicious gooey, stretchy, cheesy goodness and little bits of tomato and chili peppers…what could be better? Answer: Nothing. Bonus – you can easily whip it up in just a few quick minutes!
For anyone who grew up on Velveeta cheese mixed with Rotel all warmed up and gooey in a Crock Pot, this plant-based queso is a flippin’ miracle. I have served it to many non-vegans who have raved about it. It has changed my life, and it’s about to change yours!
An all around great party food, this is perfect for Superbowl Sunday, as a dinner party appetizer, or even just for a party of one, since it is so fast and easy to make. With a high-speed blender or with soaked or boiled cashews ready, it takes just a minute to blend, and a couple minutes of stirring at the stove. That’s it! Pretty simple, huh? You can also customize it to be as spicy or mild as you like. With mild canned tomatoes with chilies, the final dip really isn’t spicy at all in my opinion but still has amazing flavor without that burn. If you use the medium or hot can, it will be spicier.
This vegan comfort food is amazing served warm with my homemade oil-free oven-baked tortilla chips, though I have been known to eat it cold from the fridge, too. (That is, in the rare case that there are leftovers!) It’s also delicious spread between two corn tortillas like a quesadilla. You can keep it plain, or add in fillings like beans, quinoa, rice, broccoli, corn, mushrooms, or anything else you like, then toast in the oven and serve with my vegan sour cream, my fresh homemade pico de gallo salsa, guacamole, or all of the above!
It works great as a nacho cheese, as well. Pour over chips while still warm and eat as is or add your fave toppings like green onion, olives, vegan sour cream, salsa, black beans, or thinly sliced jalapeño or serrano peppers.
You can even use it as a cheese for Mexican pizza. Spread it on your dough before topping with your fave toppings and baking, or freeze it to shred like real pizza cheese! Be aware that if you are using the freezing and shredding method, it defrosts very quickly once shredded and is more difficult to manage at that point, so it’s best to shred it directly over your pizza dough so you don’t have to mess with it anymore.
If you love Mexican food, Tex-Mex food, fusion food, or just any ol’ good food, you’re going to love this.
Special Dietary Needs
This plant-based queso dip is suitable for many diets, such as:
Clean eating
Dairy free
Gluten free
Grain free
Oil free
Keto
Kosher
Natural
Nutritarian inspired (Fuhrman Eat to Live/ETL)
Oil-free
Paleo
Plant based
Refined sugar free
Soy free
Unprocessed/minimally processed
Unrefined
Vegan
Vegetarian
WFPB (whole foods plant based)
WFPBNO (whole foods plant based no oil)
Whole 30
Check out my FAQ and Resources pages for more on the philosophy behind this recipe and whole-foods-plant-based eating.
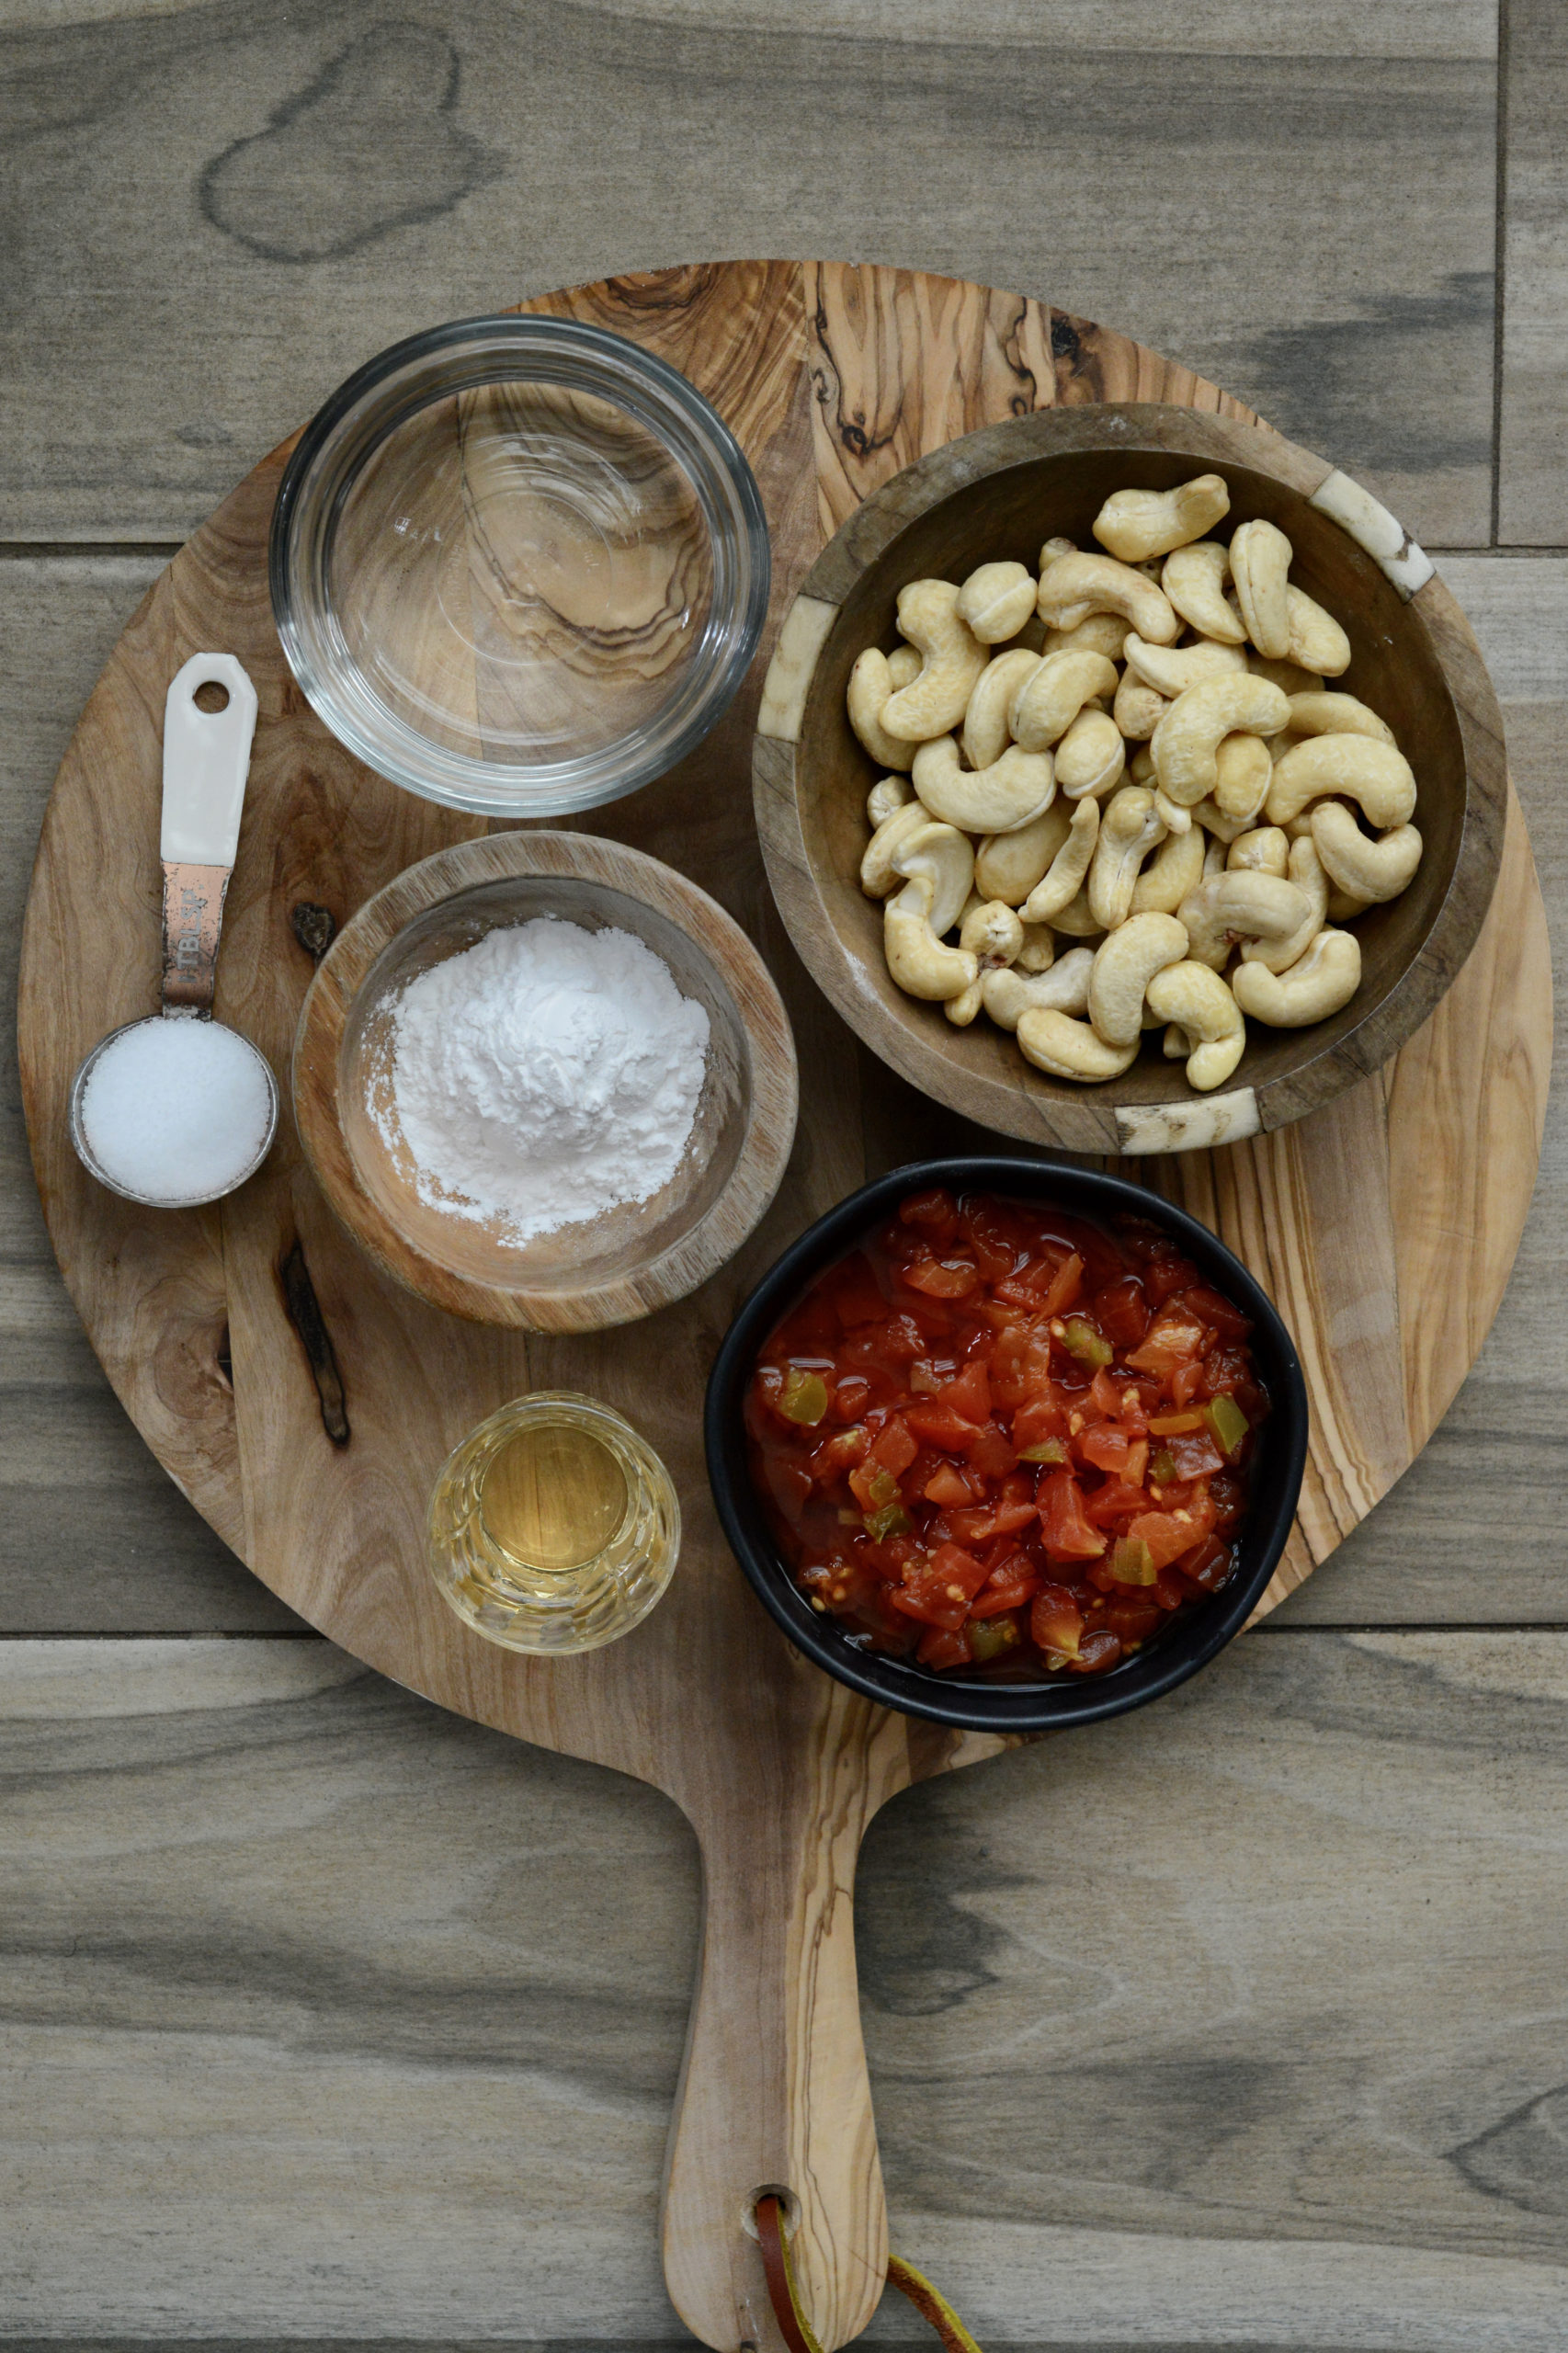
Ingredients
(available for purchase* and delivery via links below)
Raw cashews – for creamy richness
Water – to thin it out and get that queso movin’
Vinegar (apple cider vinegar, white vinegar, or rice vinegar) – for cheesy tang
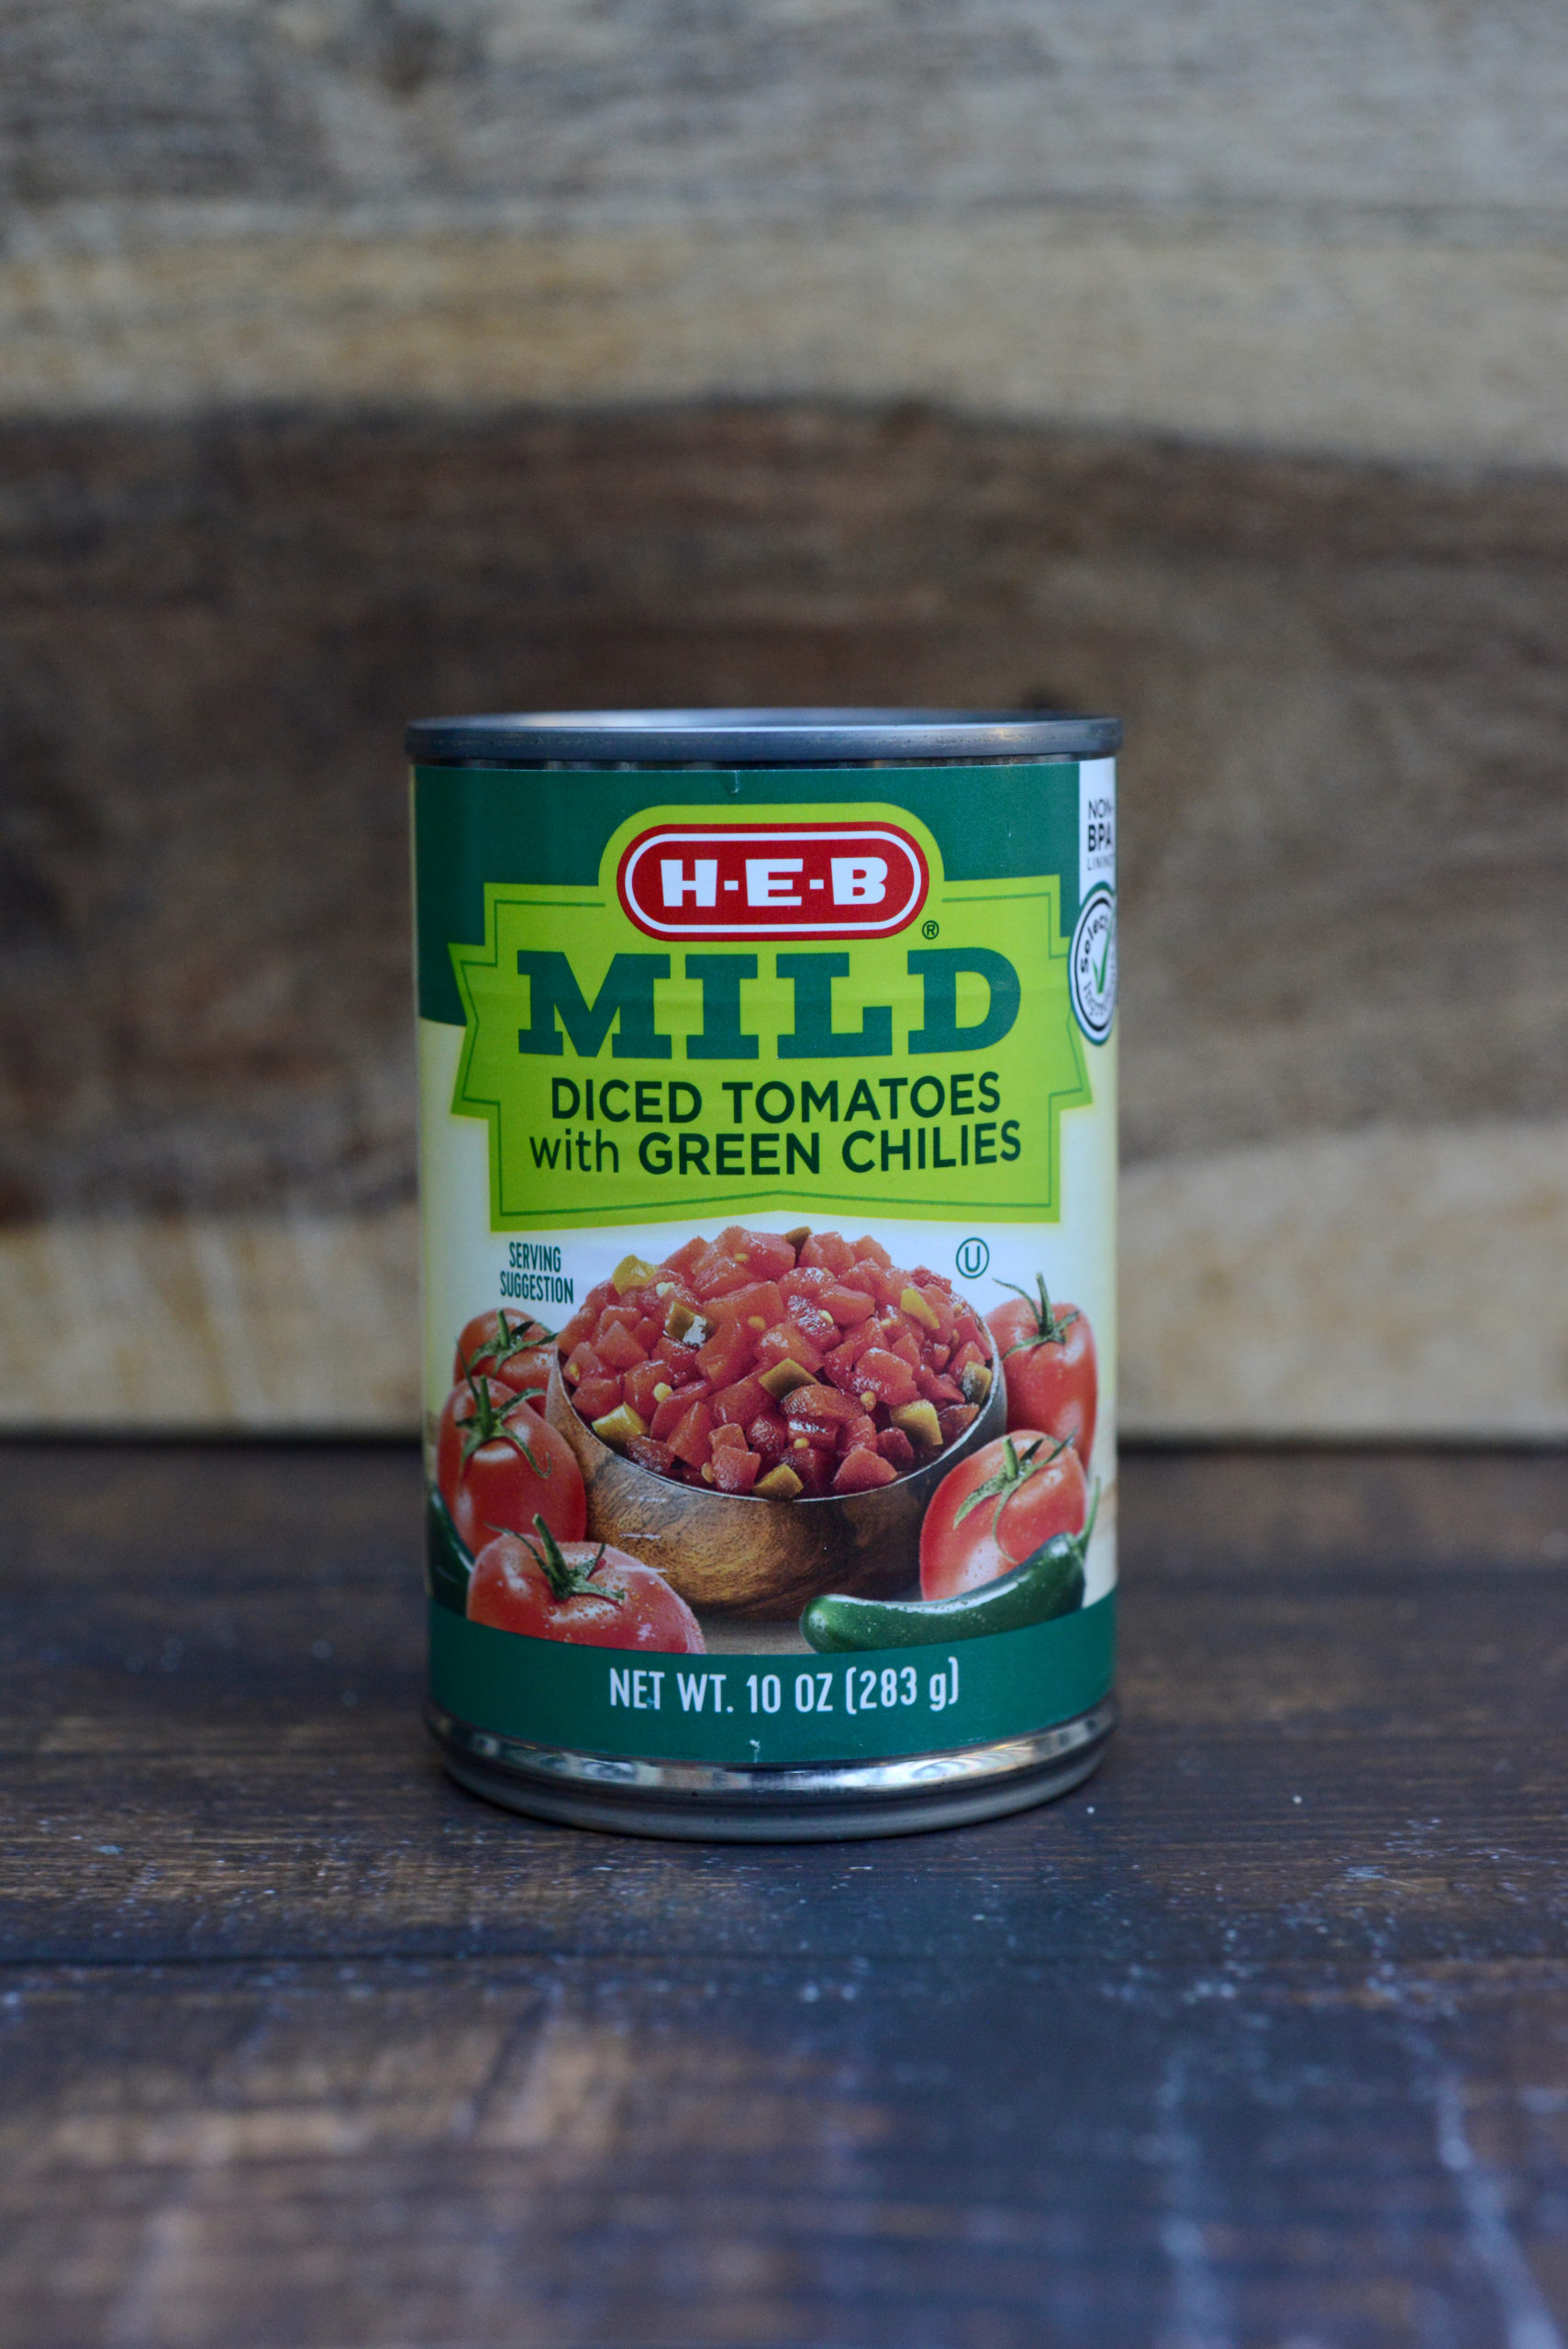
Rotel (or other brand) canned diced tomatoes with chilies (you can opt for mild, medium, or hot spiciness level) – for spice and fresh flavor
Salt – for savory goodness and to bring out the other flavors
Tapioca starch – to thicken the dip and make it gooey and stretchy
Equipment
(available for purchase* and delivery via links below)
High-speed blender ideally or whatever blender you have
Skillet
Check out my online shop for all my top picks for everything you could possibly need for your plant-based, naturally minded life!
*Salad Therapy is reader supported. As an Amazon Associate, I may earn a small commission from qualifying purchases – at no extra cost to you. Purchases through my links help me continue providing you with new recipes. I only recommend products I would happily use myself!
Instructions
If you do not have a high-speed blender, first soak your cashews in the water for 5-24 hours or boil them (covered, so that you do not lose any liquid) for 10 minutes. This will allow the queso to blend better and will produce a smoother, creamier vegan queso with fewer lumps and bumps.
If you have finished soaking/boiling your cashews or if you are using a high-speed blender, preheat your skillet on the stovetop on high so that it will be warm when you’re done blending.
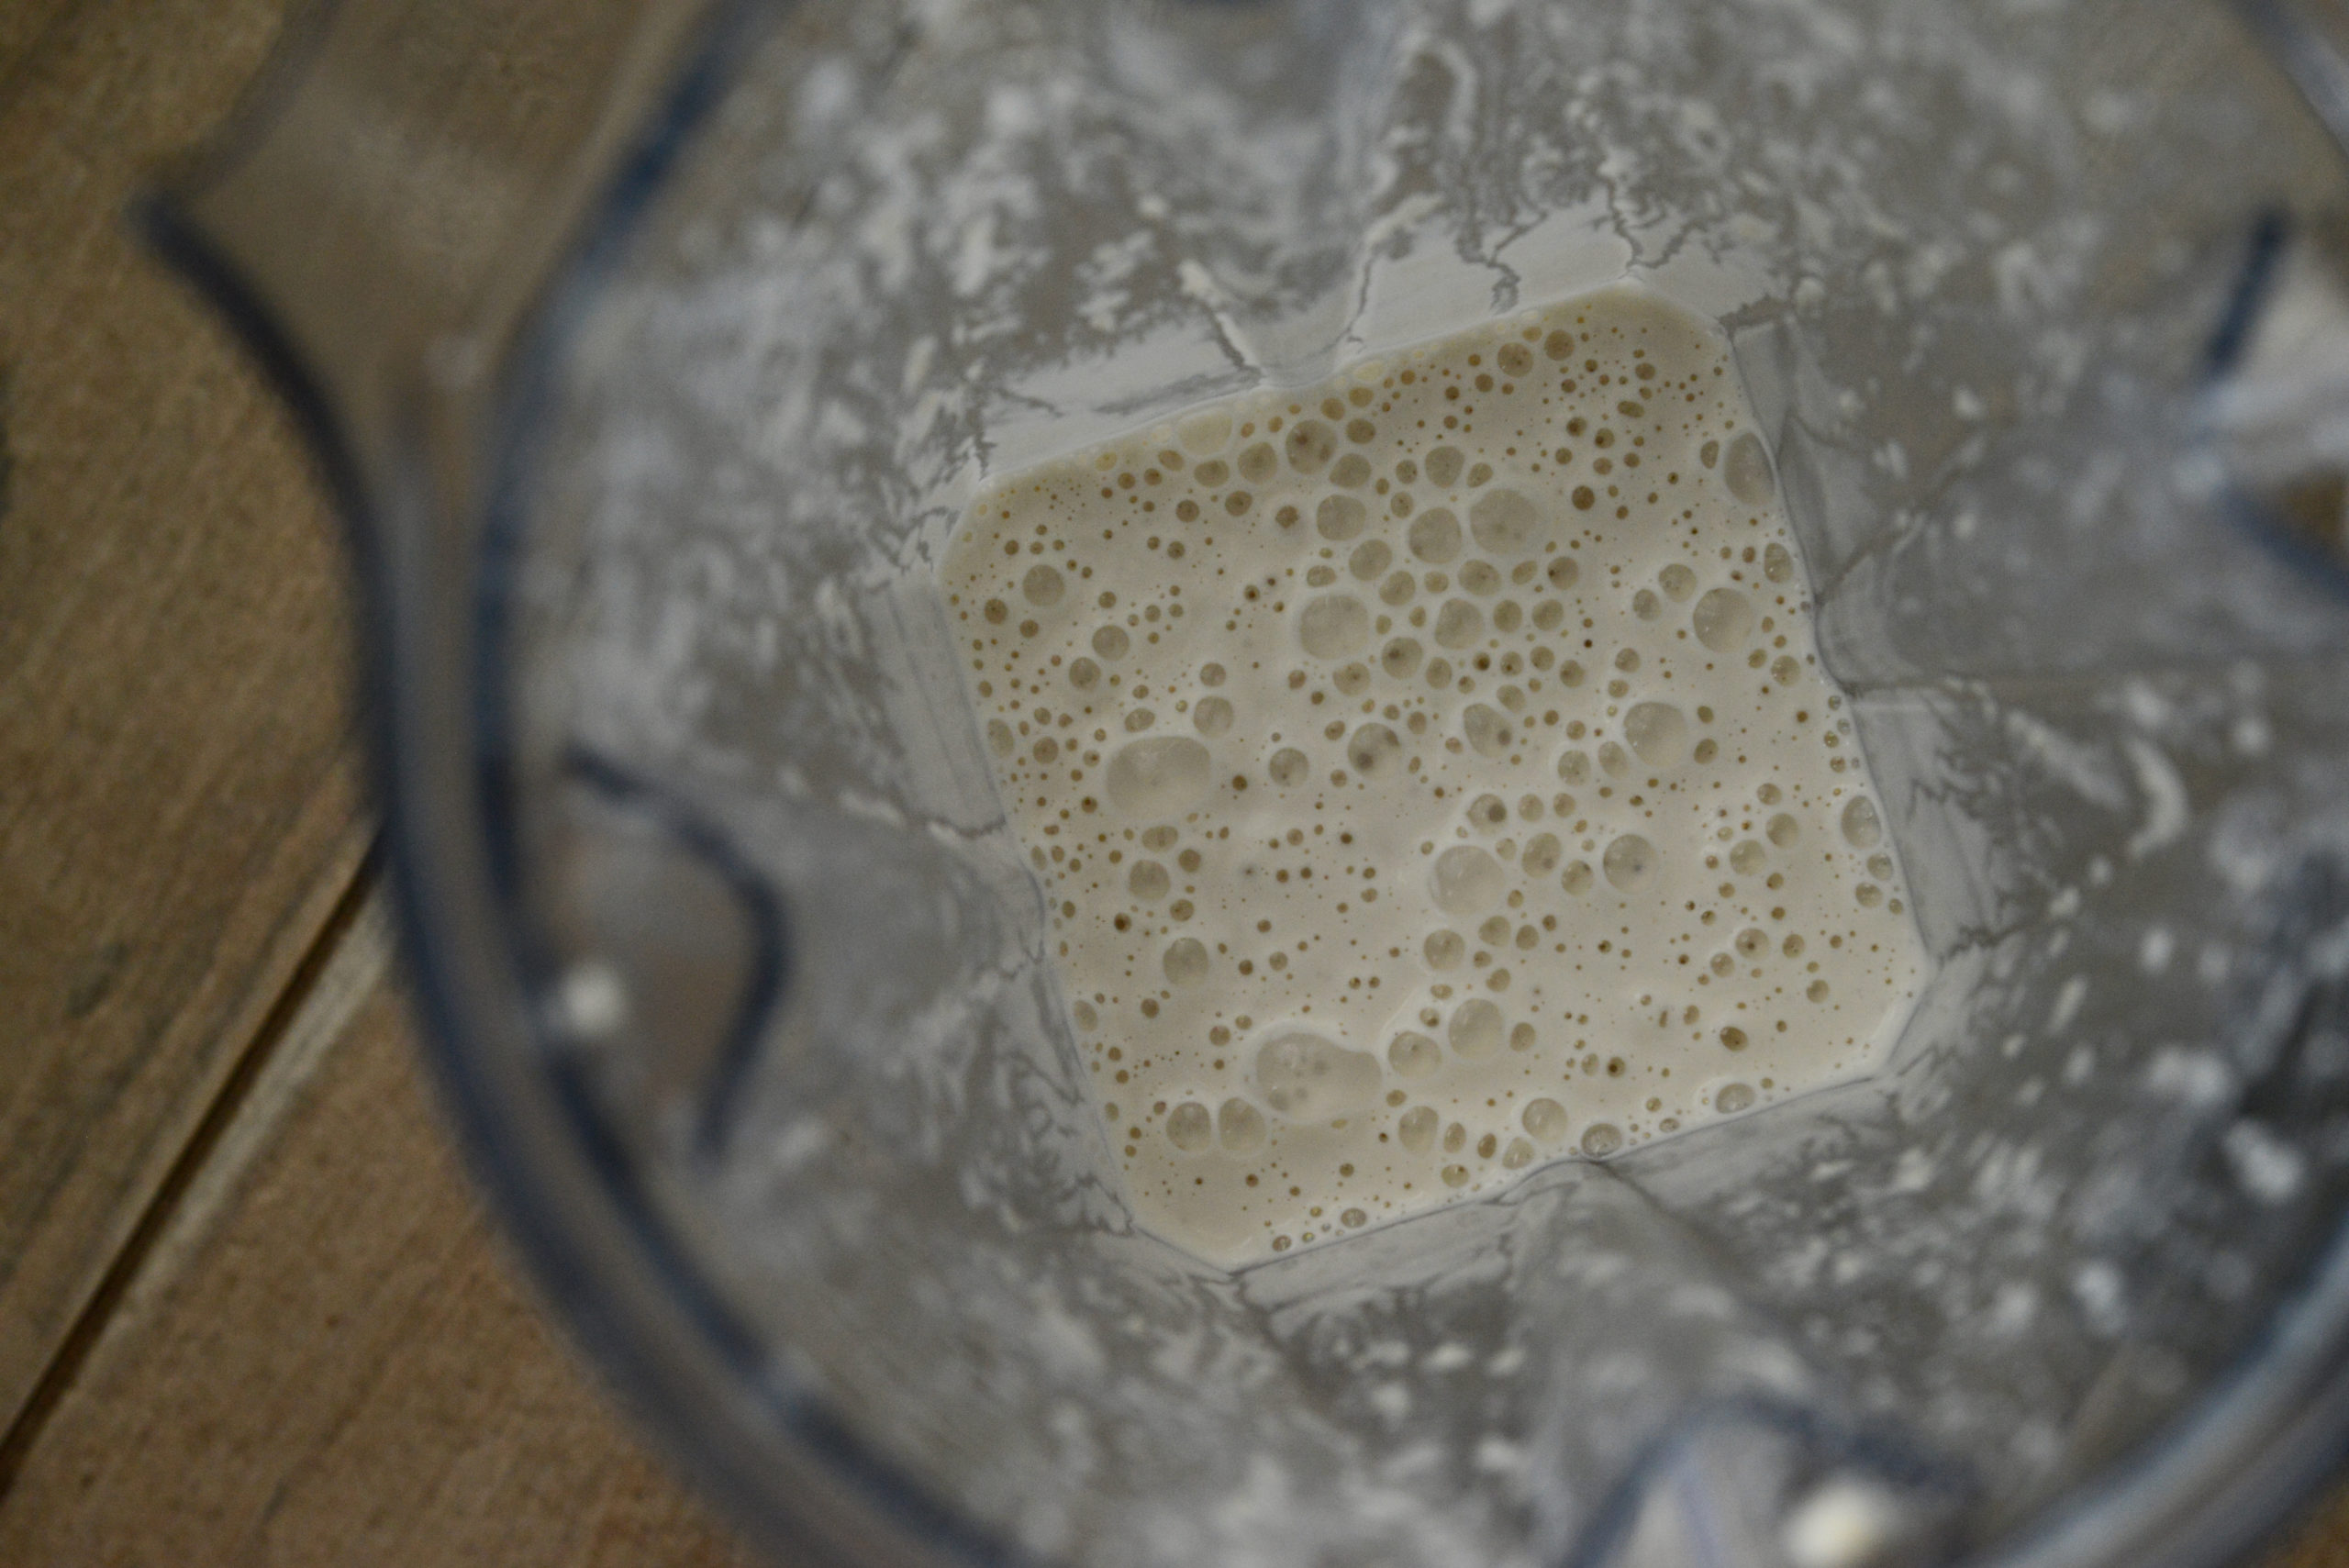
Add all ingredients except for the canned diced tomatoes and chiles to the blender and blend on high for at least 30 seconds or as long as it takes to get the queso mixture as smooth as possible.
Pour the mixture into the skillet and add the canned diced tomatoes and chiles. Stir constantly, being sure to scrape the bottom well with each stir. When your mixture begins to boil, turn the flame down to medium-low so that the queso dip doesn’t overcook or burn on the bottom.
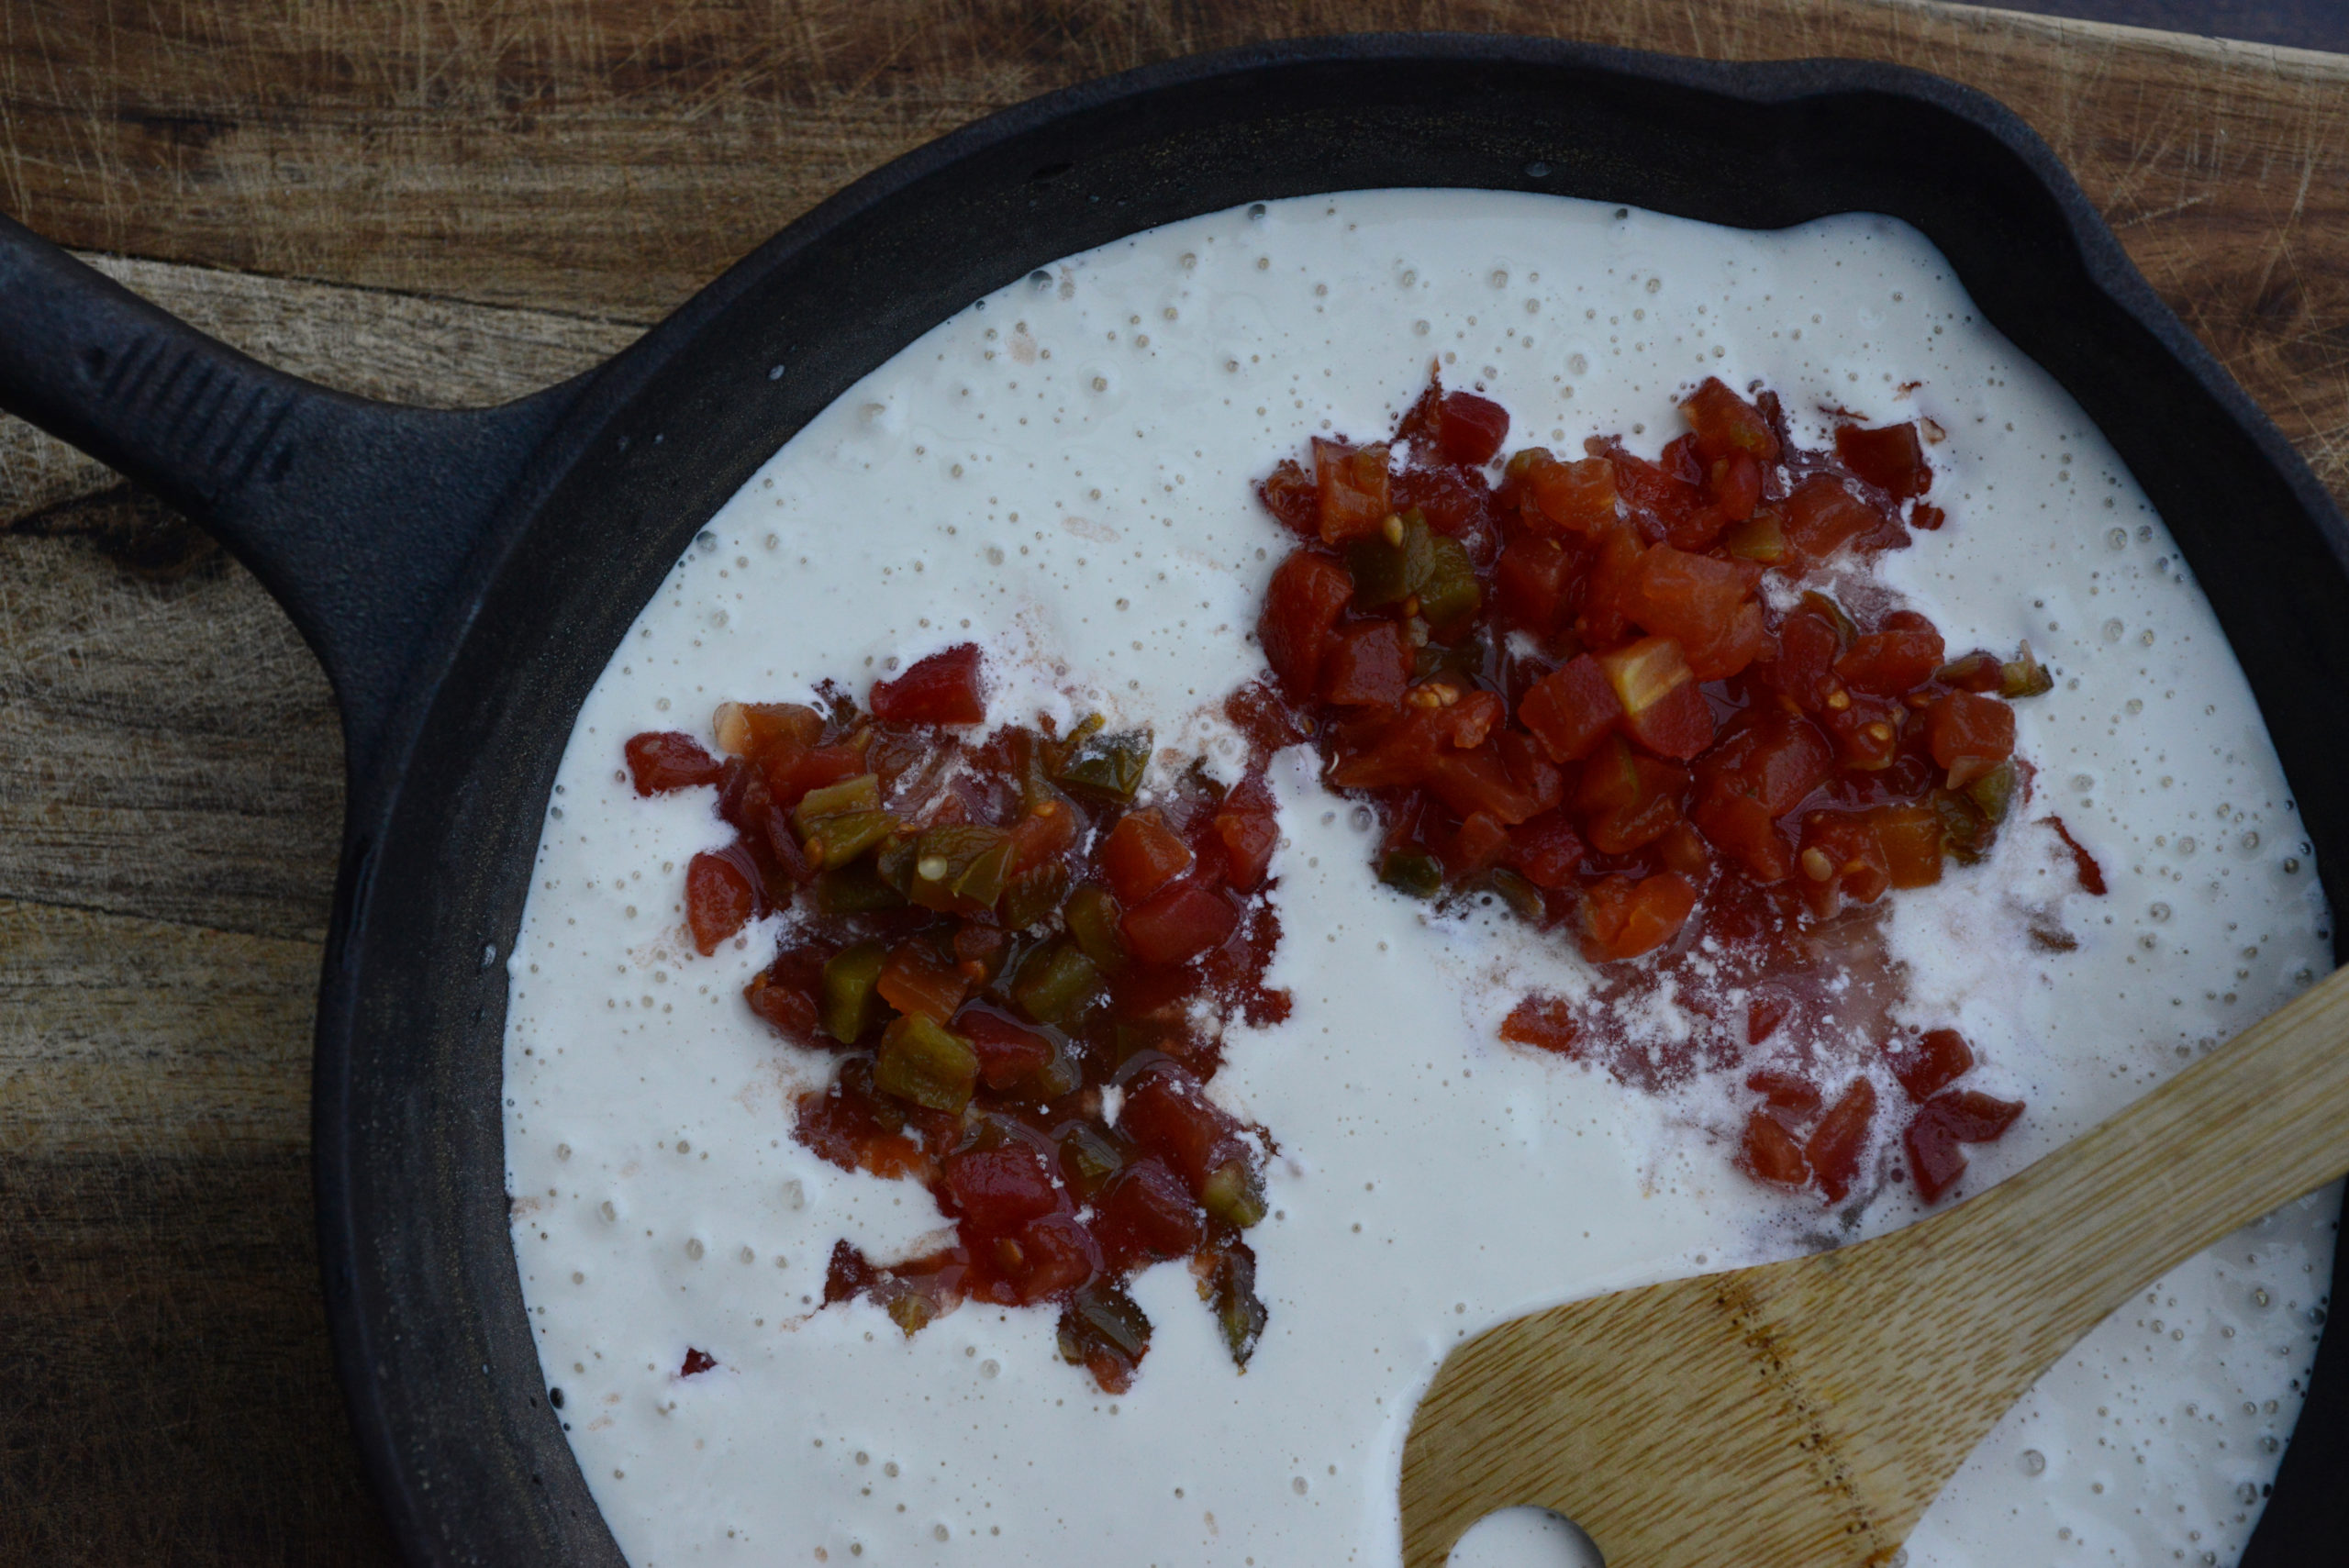
Continue stirring for 2-5 minutes; the queso dip will thicken as it cooks. It is ready to serve when it is evenly thick throughout.
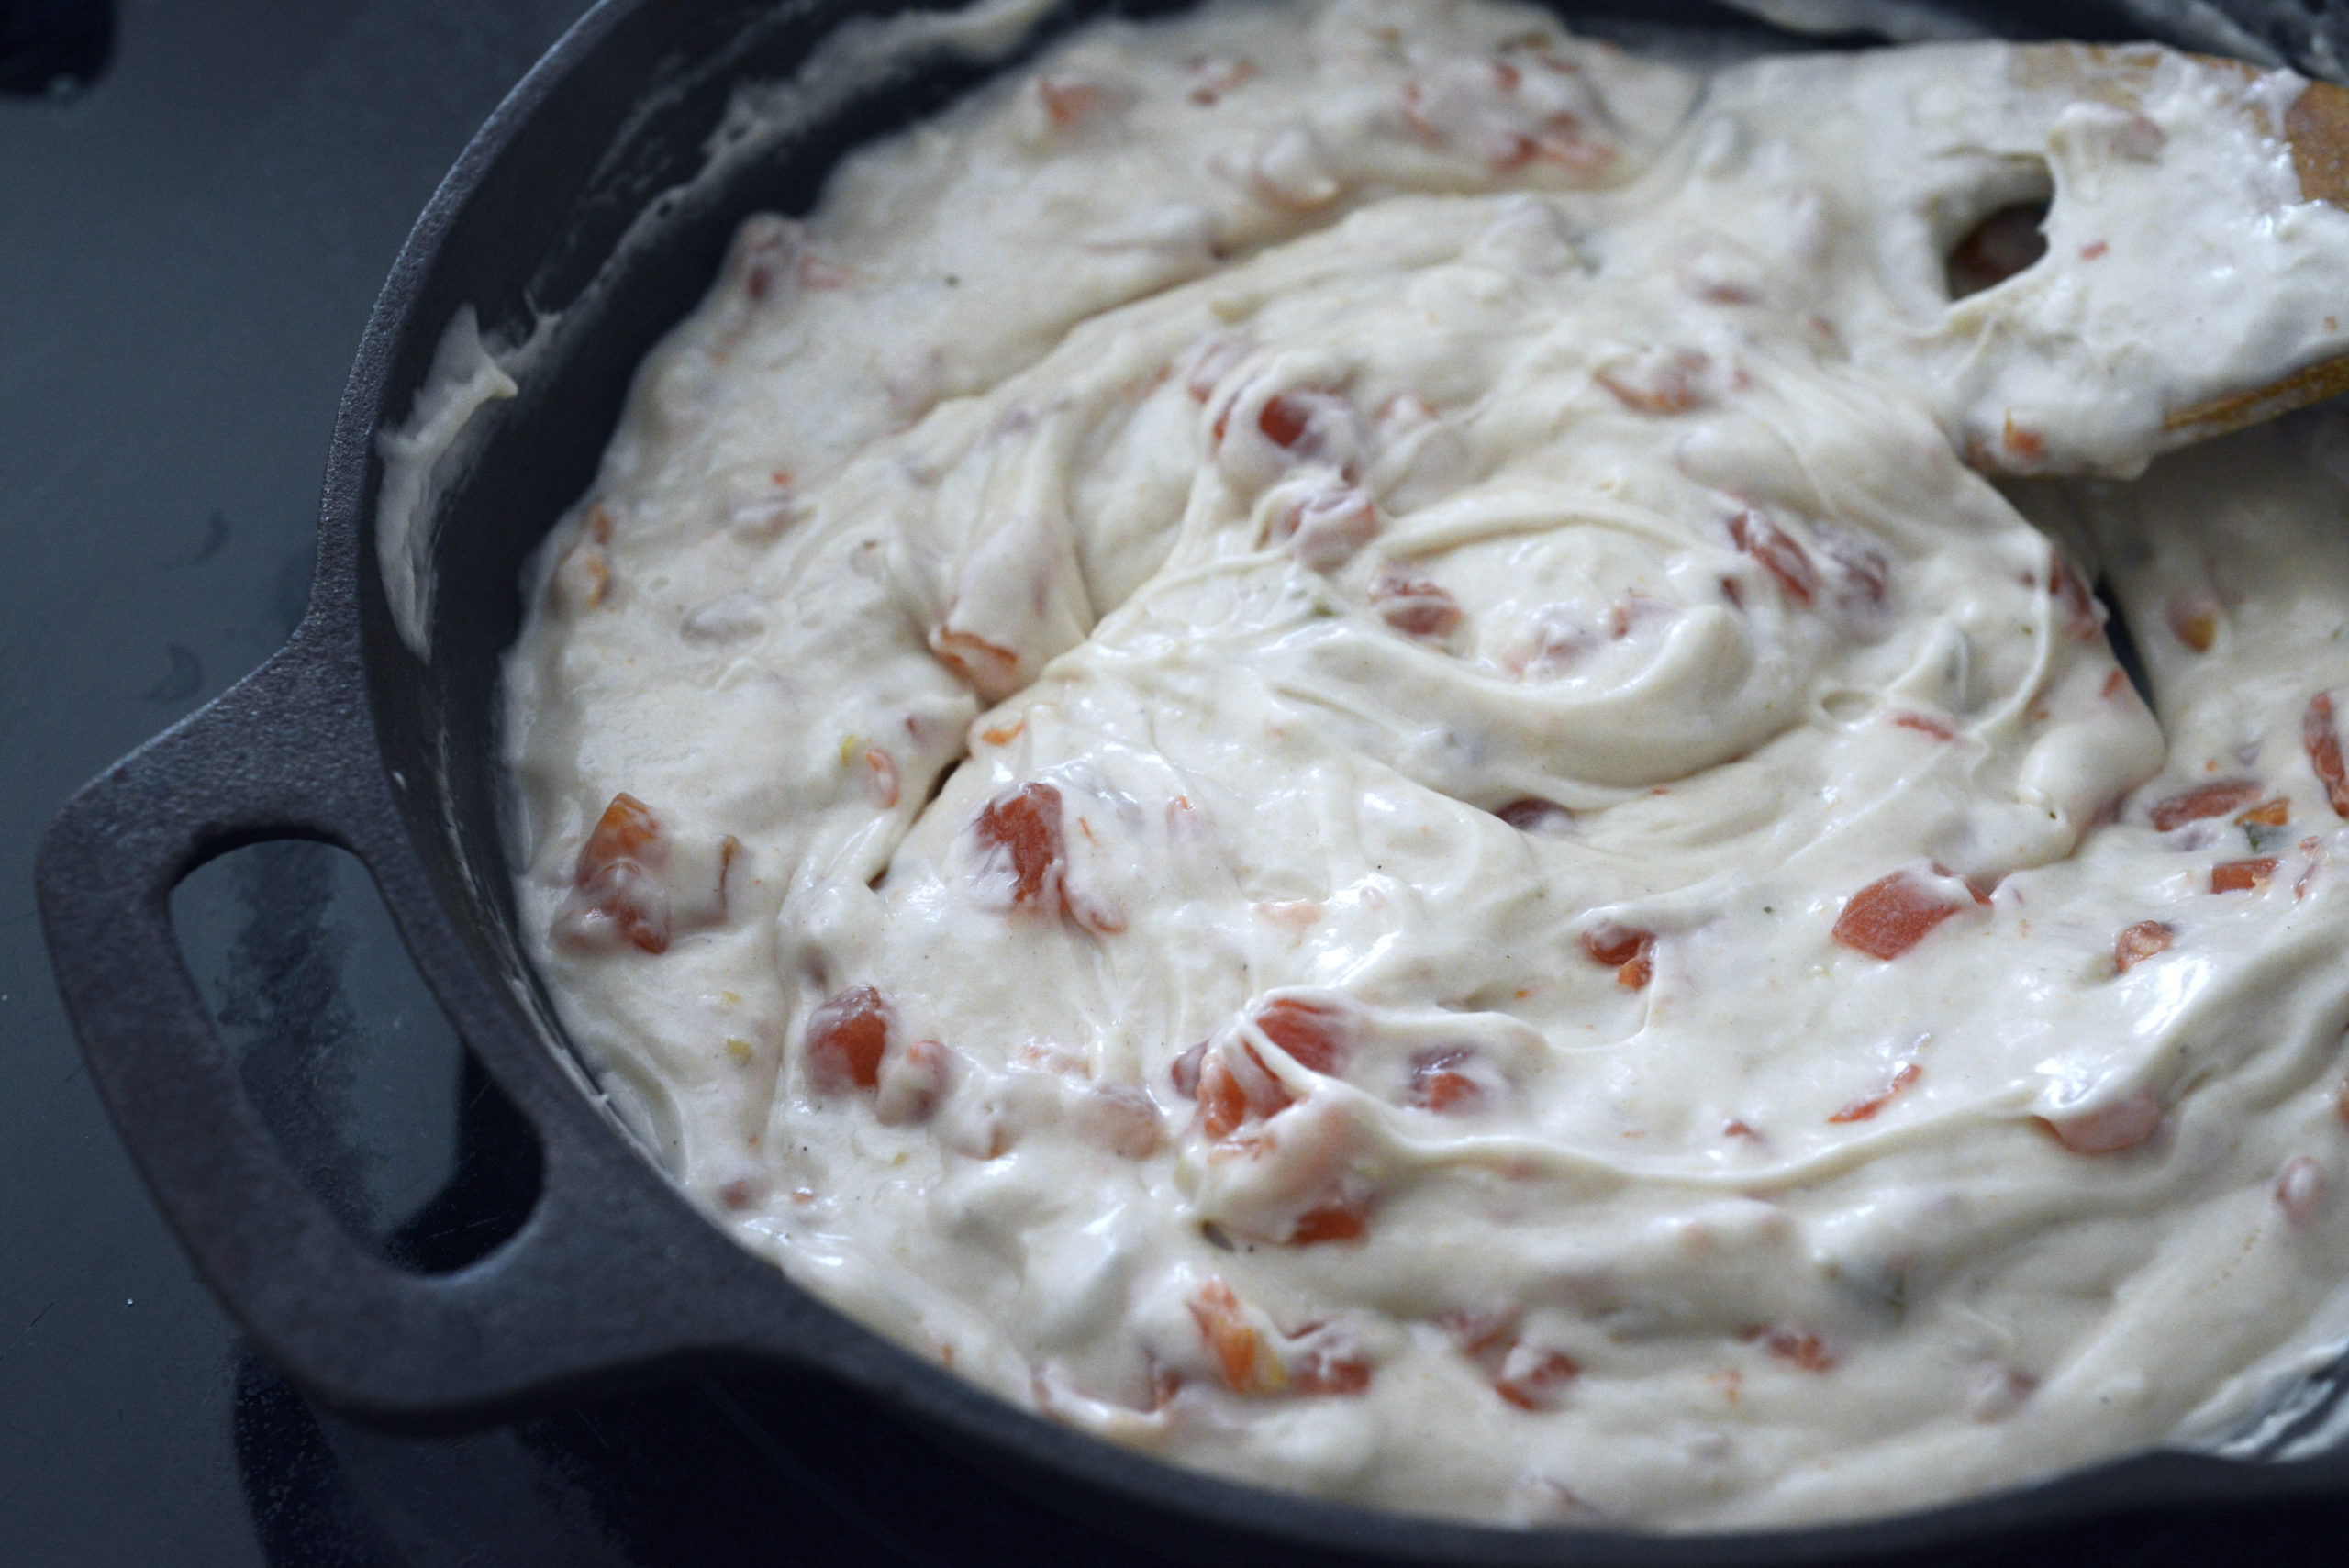
You can serve your yummy plant-based comfort food in the skillet you cooked it in, or transfer to a warming tray or slow cooker on warm setting if you want it to stay warm for longer.
Optional: Garnish with fresh diced tomatoes, red onion, jalapeño, and cilantro.
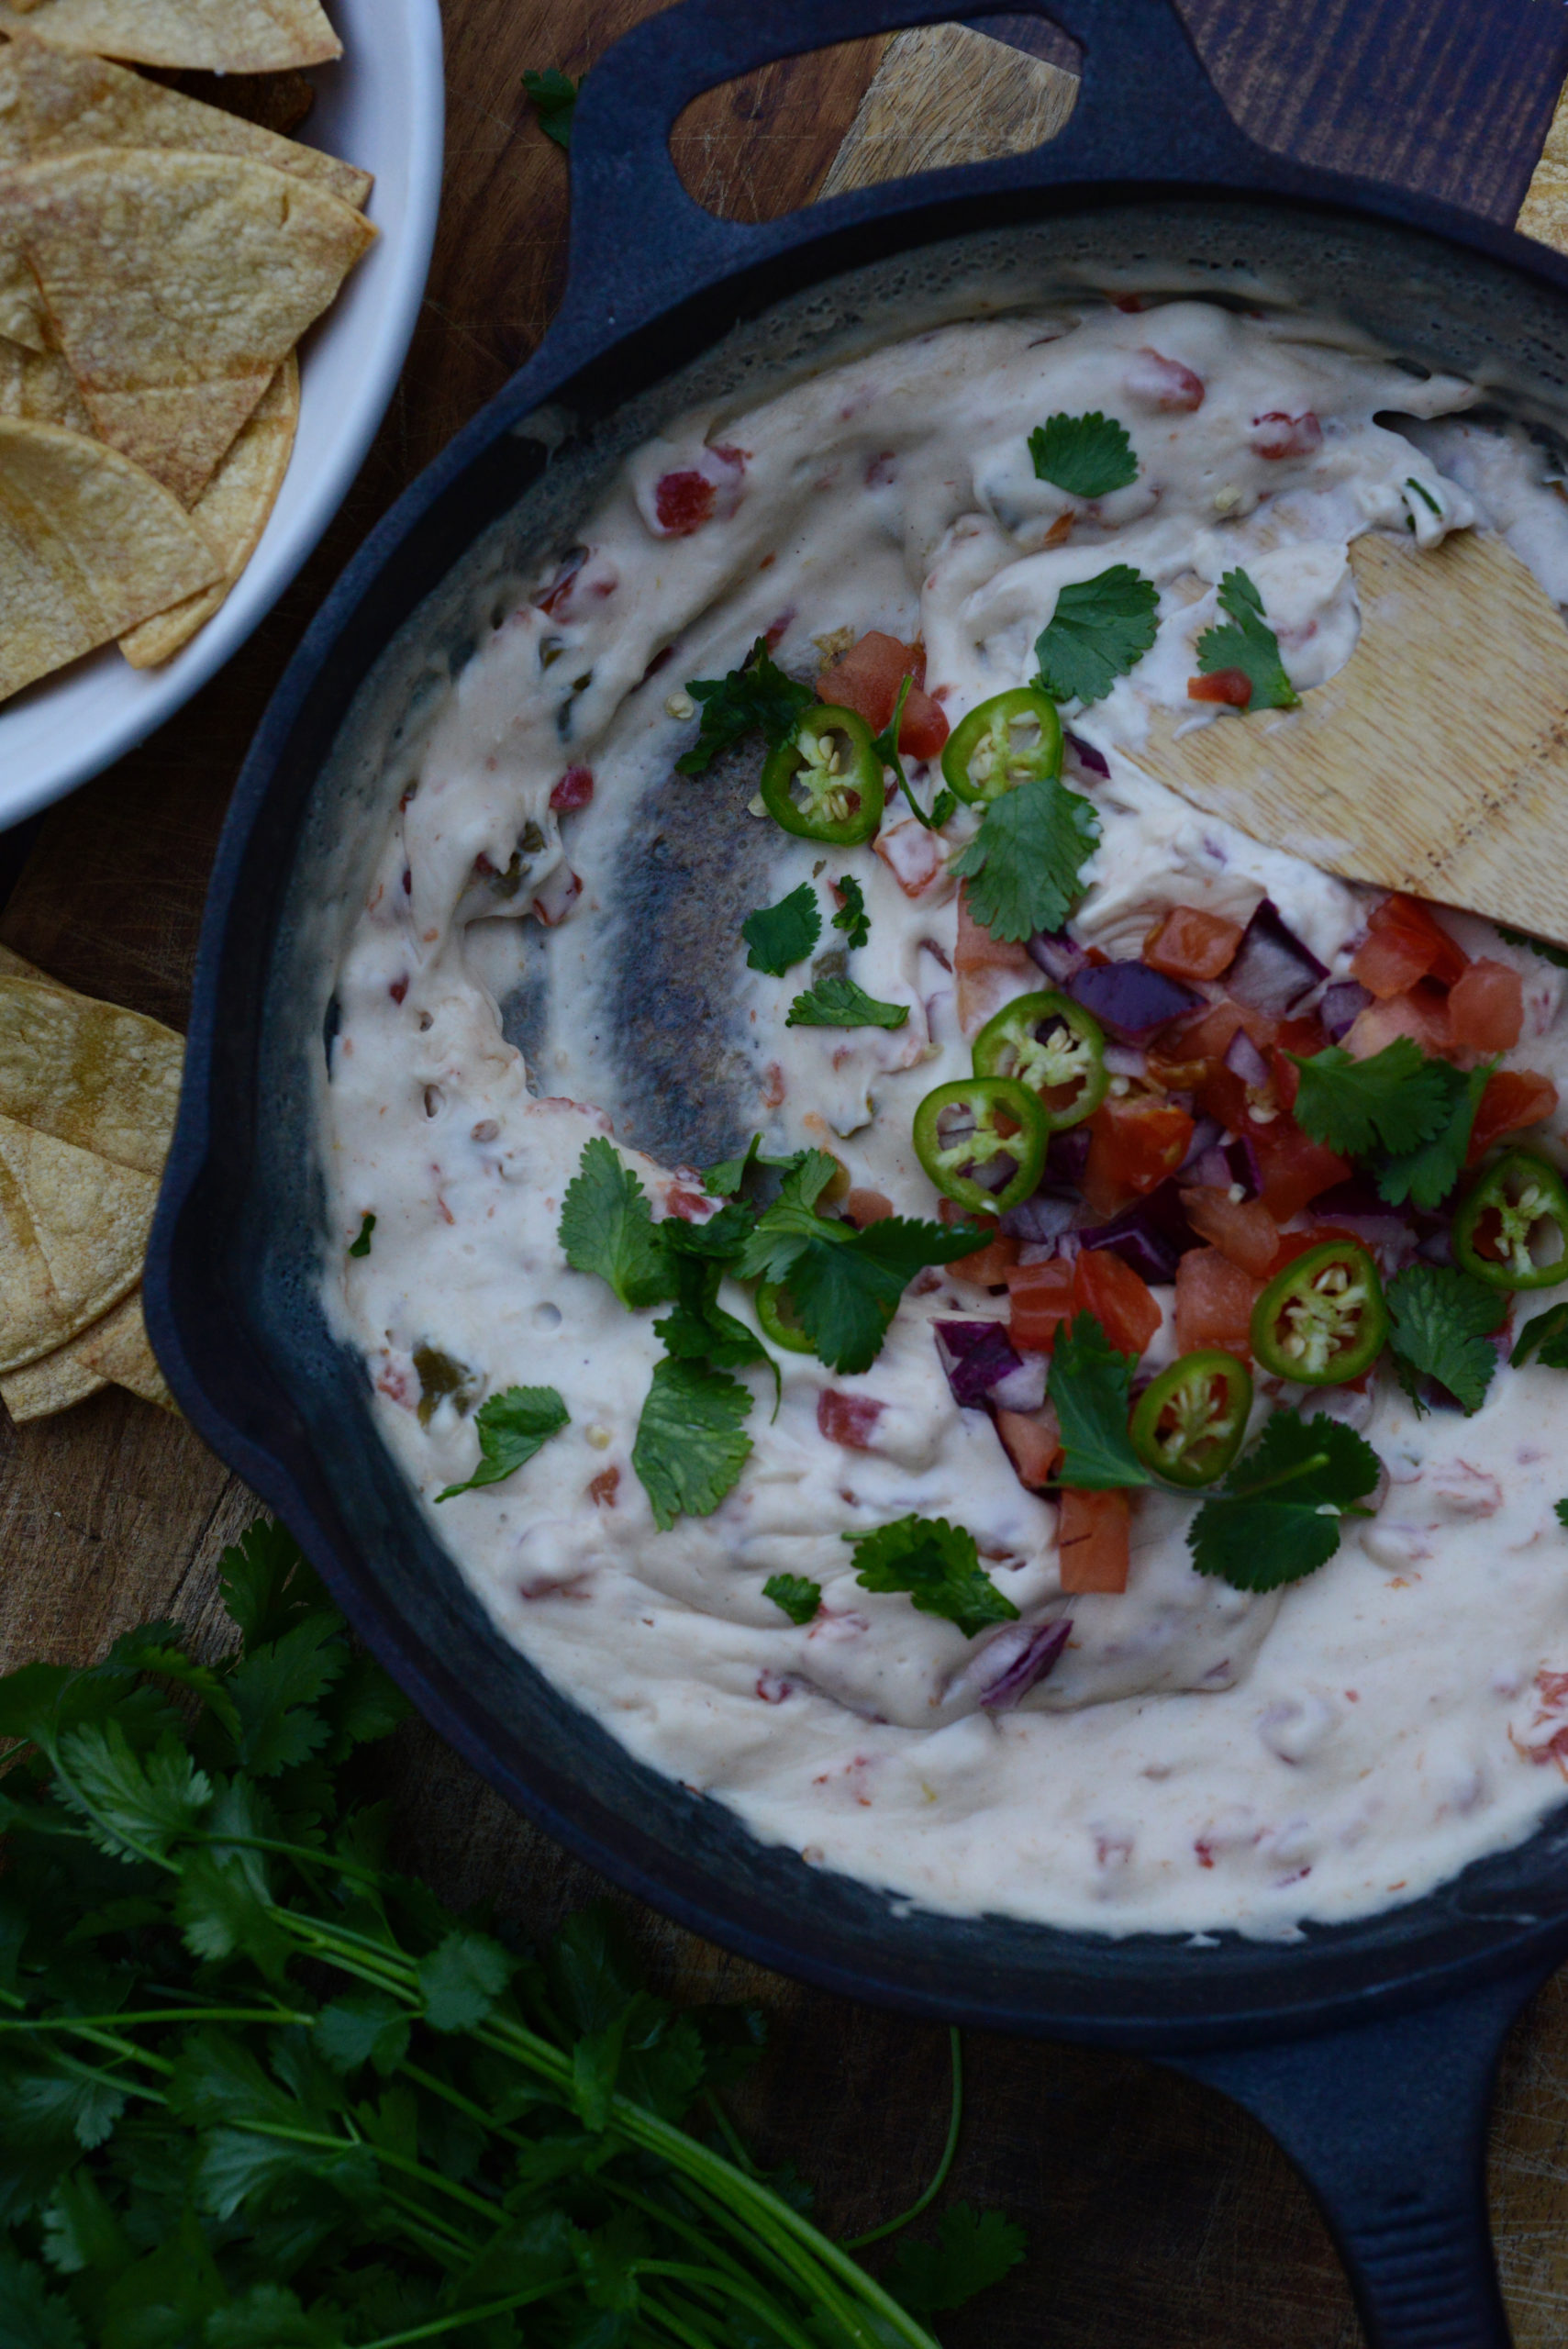
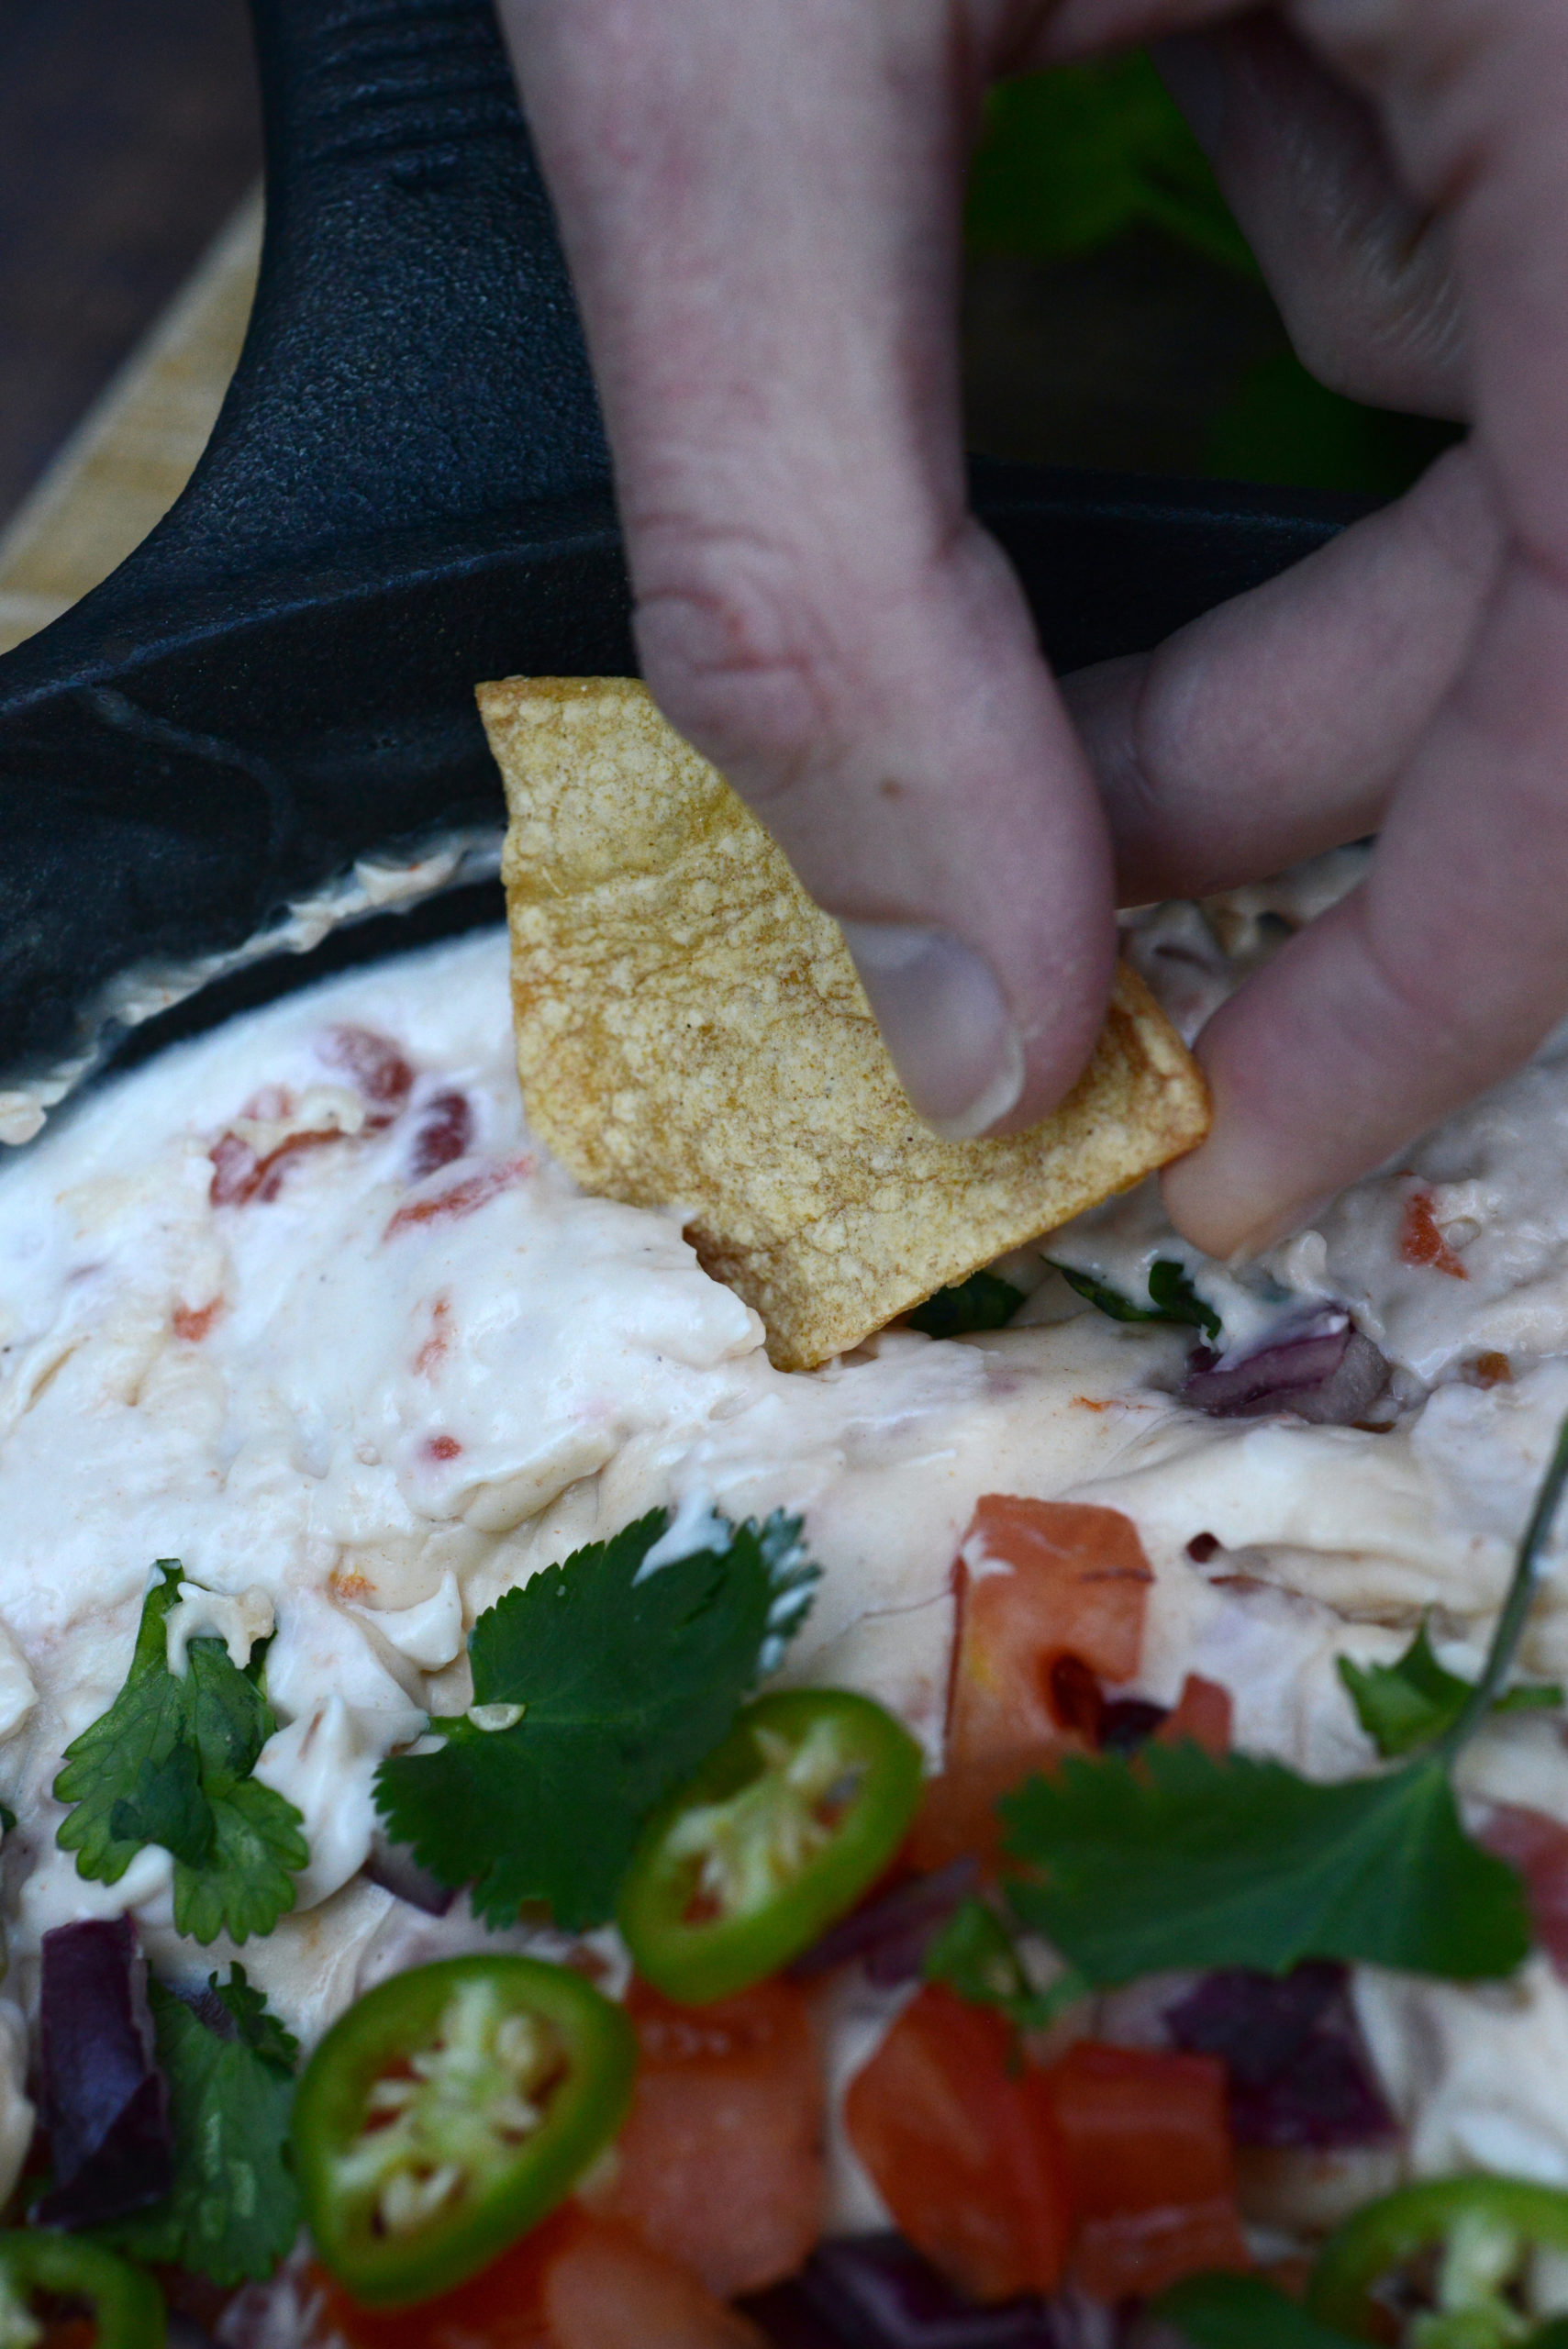
Serve your healthy queso dip with homemade oil-free tortilla chips and enjoy!
Love Mexican food? You’ll love these:
Oil-Free Oven-Baked Tortilla Chips
Pico de Gallo [Fresh Raw Salsa]
5-Ingredient Vegan Mex-Style Mac ‘n’ Cheese
Roasted Broccoli and Chickpea Tacos
The Best 6-Ingredient Vegan Queso Dip
Ingredients
Method
- If you do not have a high-speed blender, first soak your cashews in the water for 5-24 hours or boil them (covered, so that you do not lose any liquid) for 10 minutes. This will allow the queso to blend better and will produce a smoother, creamier vegan queso with fewer lumps and bumps. If you are boiling and have lost some liquid in the boiling process, be sure to add back the amount of liquid you lost.
- If you have finished soaking/boiling your cashews or if you are using a high-speed blender, preheat your skillet on the stovetop on high so that it will be warm when you're done blending.
- Add all ingredients except for the canned diced tomatoes and chiles to the blender and blend on high for at least 30 seconds or as long as it takes to get the queso mixture as smooth as possible.
- Pour the mixture into the skillet and add the canned diced tomatoes and chiles. Stir constantly, being sure to scrape the bottom well with each stir. When your mixture begins to boil, turn the flame down to medium-low so that the queso dip doesn't overcook or burn on the bottom.
- Continue stirring for 2-5 minutes; the queso dip will thicken as it cooks. It is ready to serve when it is evenly thick throughout.
- You can serve in the skillet you cooked it in, or transfer to a warming tray or slow cooker on warm setting if you want it to stay warm for longer.
- Optional: Garnish with fresh diced tomatoes, red onion, jalapeño, and cilantro.
- Serve with homemade oil-free tortilla chips and enjoy!
If you’ve made this, please take a sec to RATE AND COMMENT below! It helps other readers and also helps direct more people to Salad Therapy! Please also tag @saladtherapy on social media, and don’t forget to COMMENT, LIKE, AND SHARE on Facebook and Instagram!
STAY IN THE LOOP WHENEVER A NEW SALAD THERAPY RECIPE IS POSTED! SIGN UP FOR MY EMAIL NEWSLETTER – NO SPAM!
Very tasty! I didn’t have canned tomatoes and chilies so substituted fresh salsa. Also added turmeric and paprika for color. Appreciated that this recipe doesn’t use nutritional yeast.
So glad you enjoyed it! I know a lot of people like to add turmeric for color; personally the flavor is very strong to me so I don’t include it, but it’s great that adding it worked for you! And I find that so many of the cheesy recipes with nutritional yeast are better without…just my preference, but I’m happy you thought so, too!