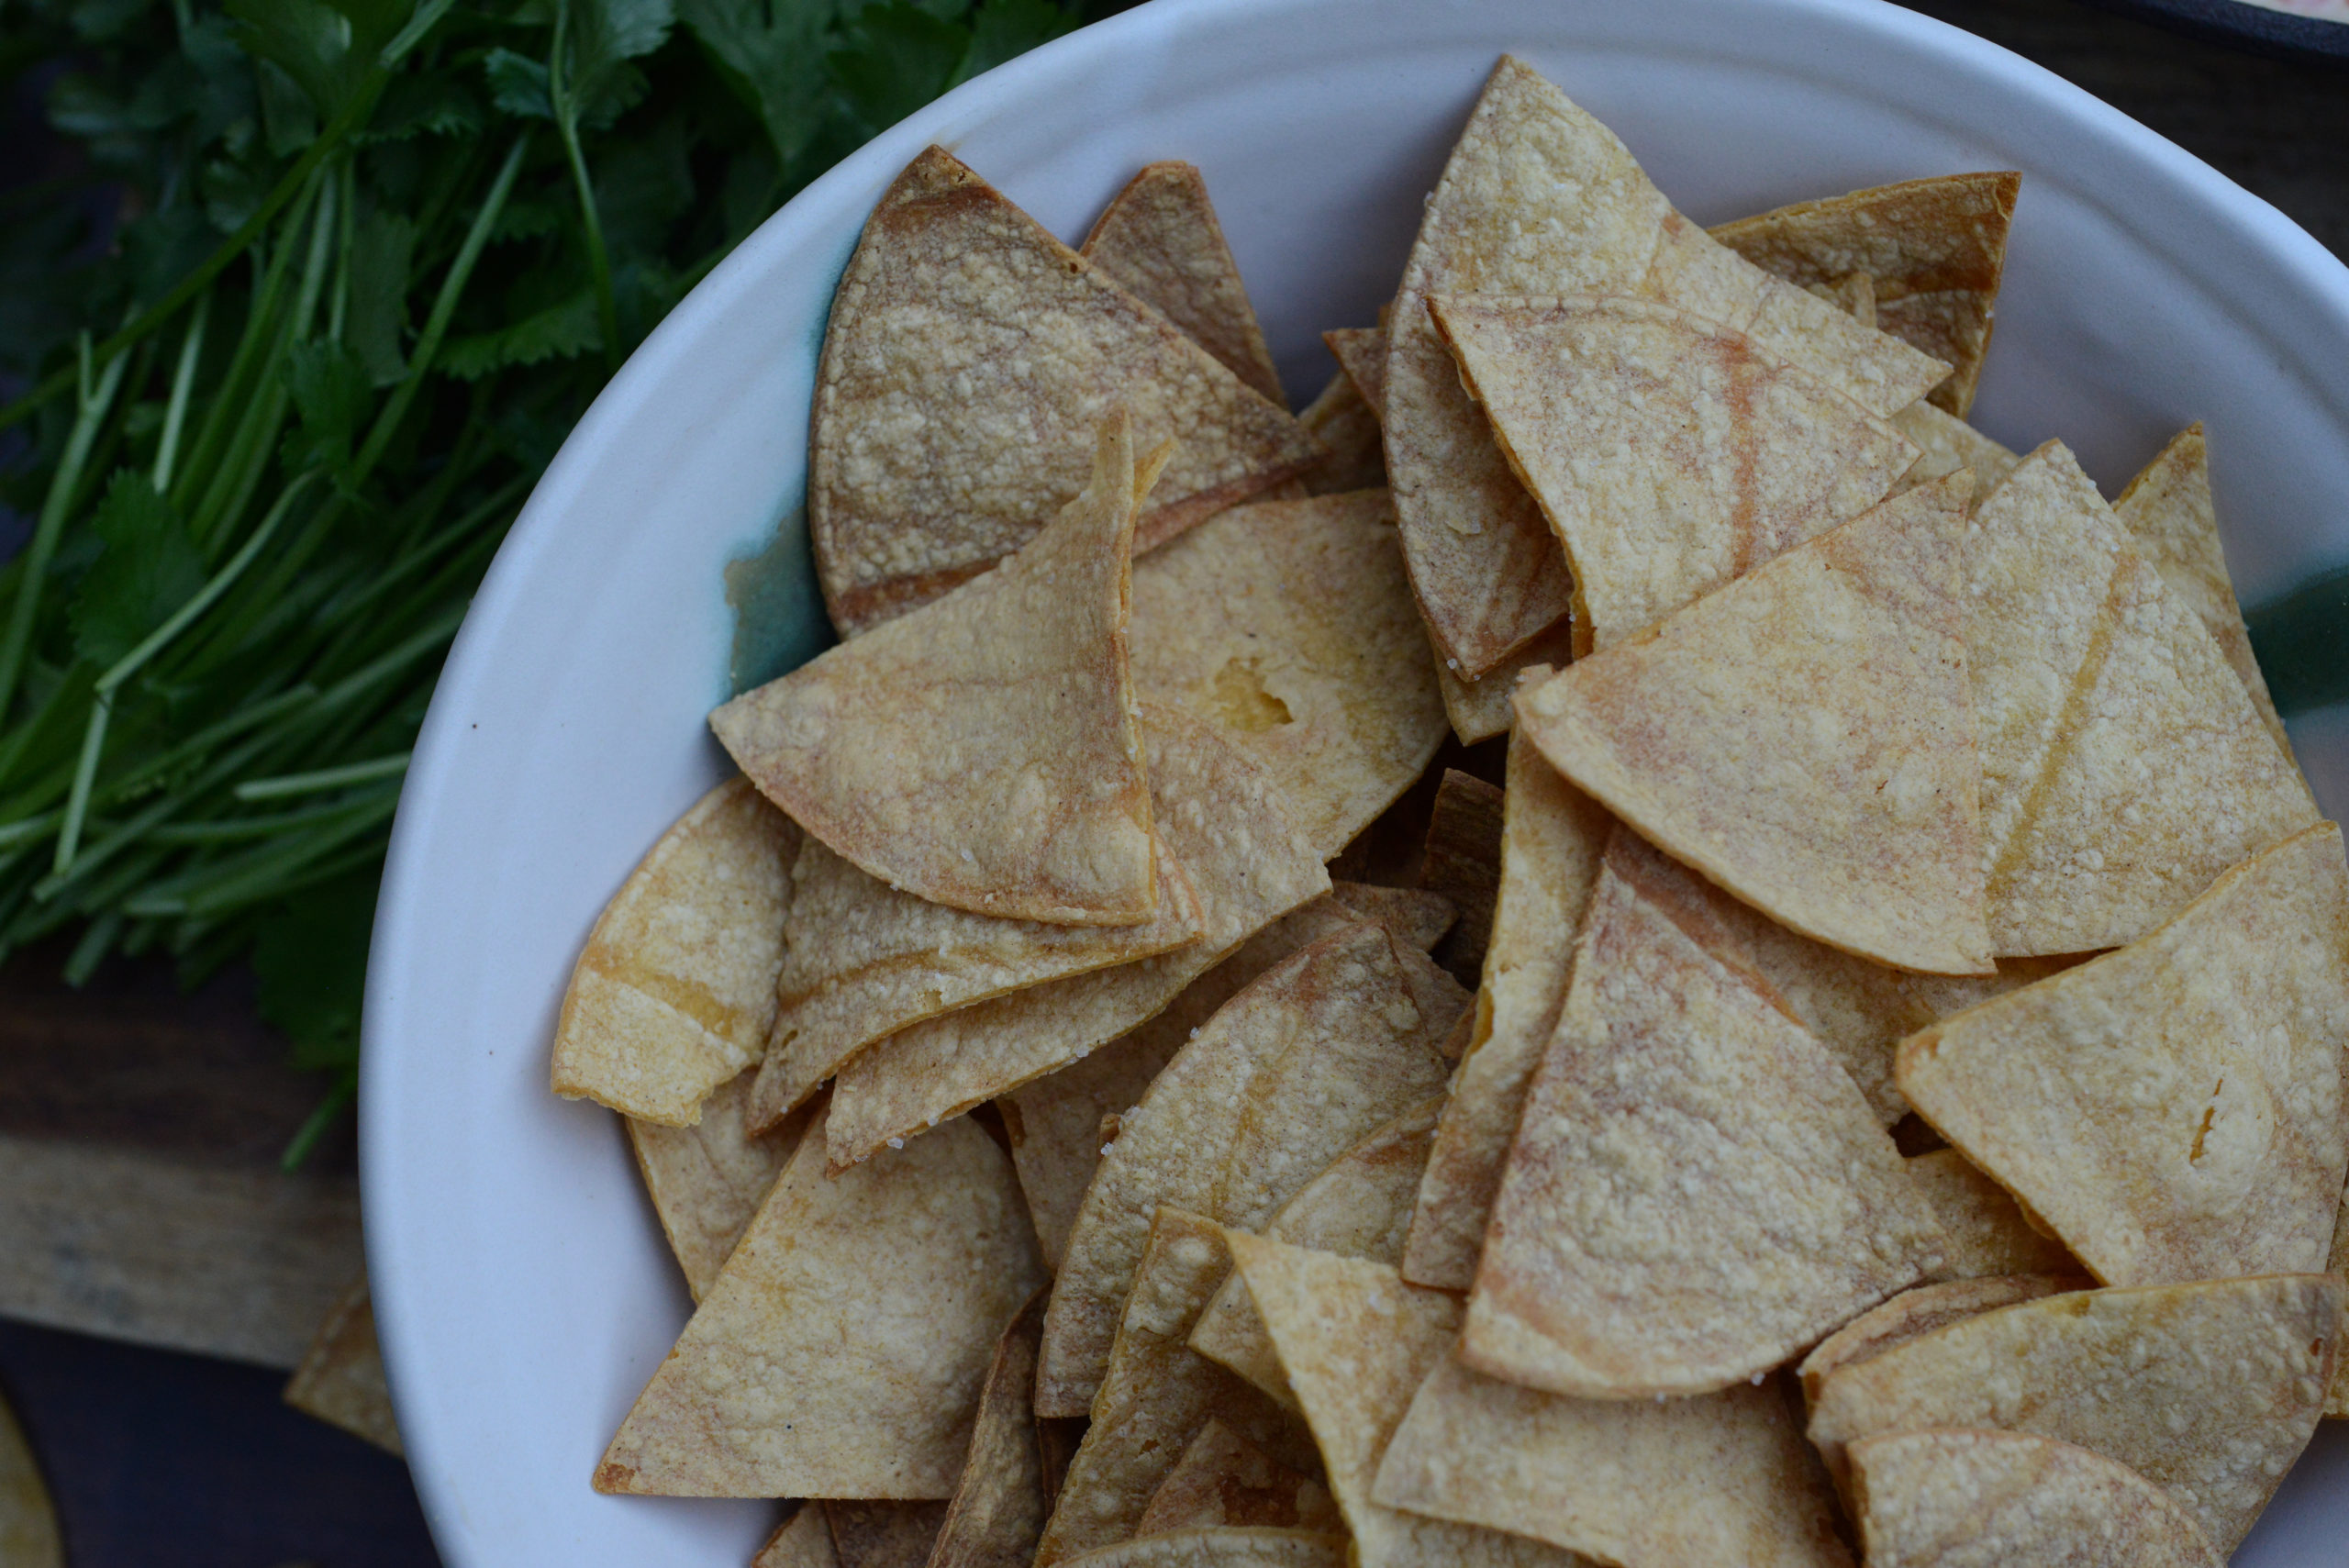
My Oil-Free Oven Baked Tortilla Chips are perfect for dipping and snacking, and they’re super easy to make with only 3 simple ingredients and 5 minutes active prep! They’re naturally gluten free and lower in fat yet absolutely crunchy, crispy, and yummy.
I love healthy dips with carrots and celery, but sometimes I want something heartier and more comforting. Let’s just be real – I want all the carbs! These healthy low-fat chips are a great fast comfort food snack, and they’re quick enough to make that there’s really no need to buy fried version. They’re also totally neutral in flavor, so they go with just about anything.
These lighter corn chips are delicious with hummus (think pita chips!), pesto, salsa, guacamole, fresh pico de gallo with vegan sour cream, and my mouthwatering cheesy vegan queso dip. They’re also absolutely perfect for vegan nachos, or breaking into pieces over the top of my caesar salad (or any salad!) in place of croutons. You could even just squeeze some lime juice on them, or eat them plain. Cuz they’re plain good!
Special Dietary Needs
These unfried chips are suitable for many diets, such as:
Clean eating
Dairy free
Gluten free
Oil free
Kosher
Low calorie
Low fat
Natural
Nutritarian (Fuhrman Eat to Live/ETL)
Nut free
Oil-free
Plant based
Refined sugar free
Soy free
Unprocessed/minimally processed
Unrefined
Vegan
Vegetarian
Weight Watchers
WFPB (whole foods plant based)
WFPBNO (whole foods plant based no oil)
Check out my FAQ and Resources pages for more on the philosophy behind this recipe and whole-foods-plant-based eating.
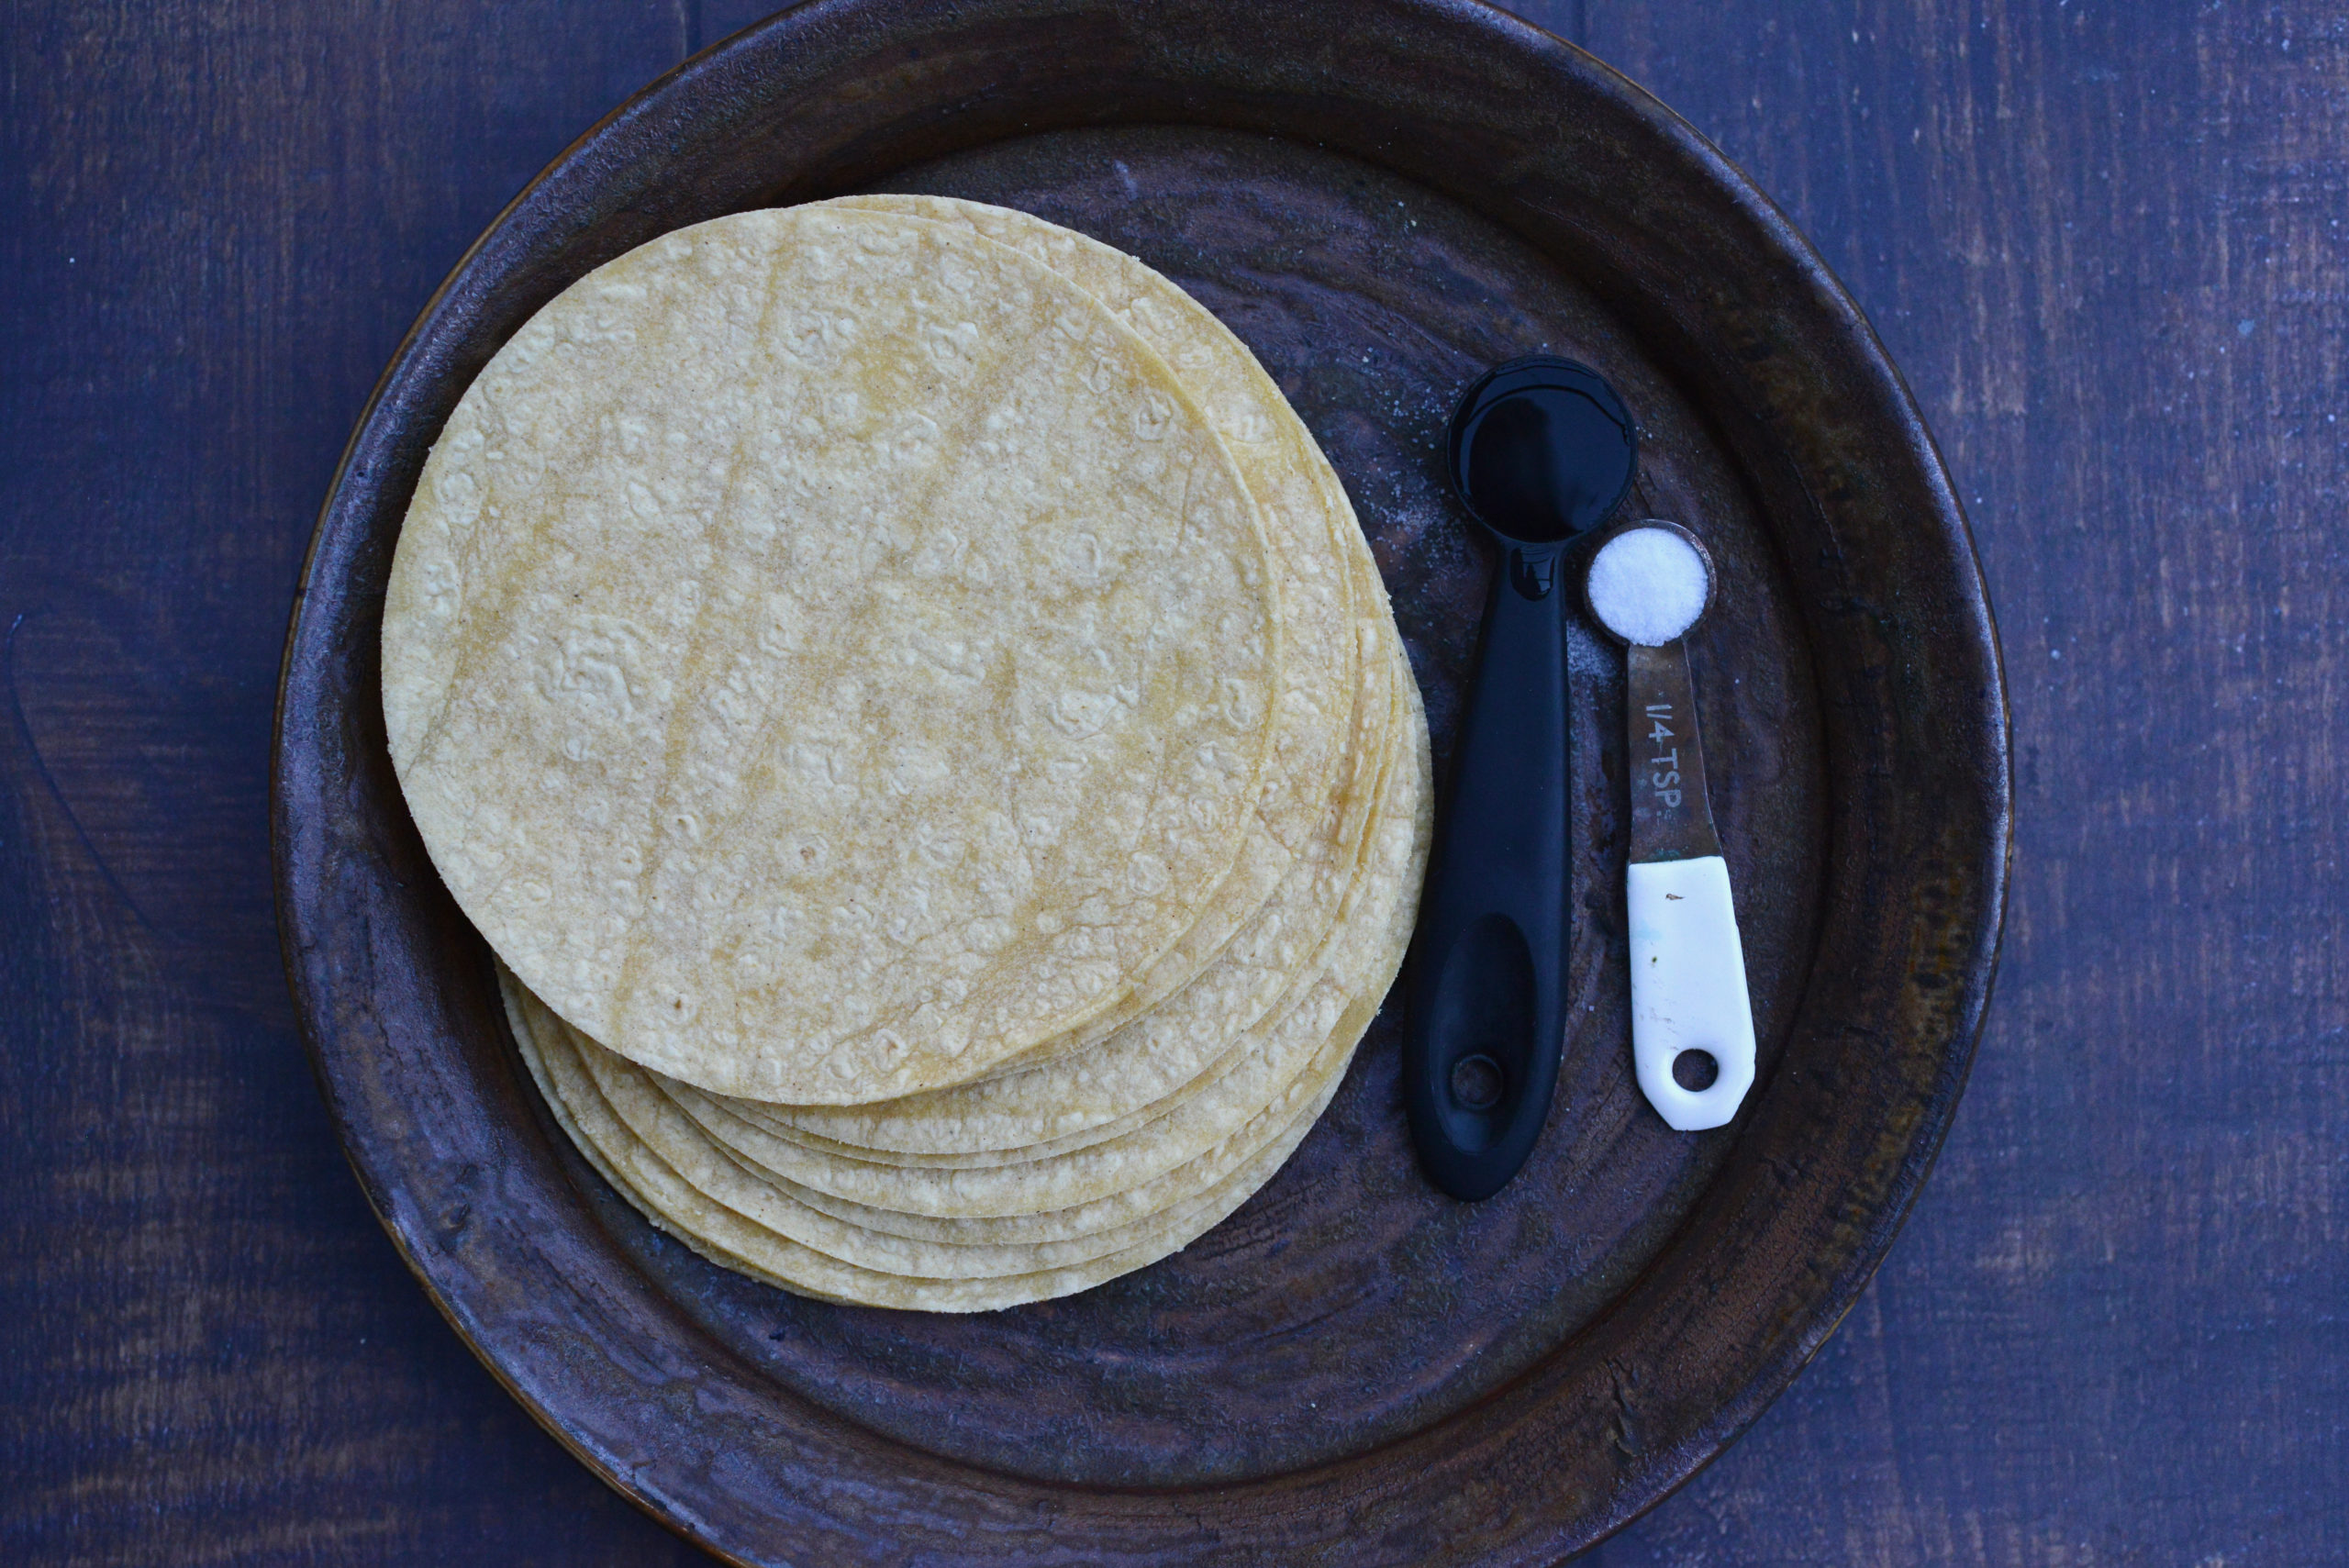
Ingredients
(available for purchase* and delivery via links below)
Corn tortillas – for a hearty crunch
Salt (optional if avoiding salt for health reasons) – for savory goodness and to bring out the flavor
Water (omit if not using salt) – to help the salt stick to the tortillas
Equipment
(available for purchase* and delivery via links below)
Knife
Cutting board
Mixing bowl
Measuring spoon
Baking sheets
Parchment paper
Check out my online shop for all my top picks for everything you could possibly need for your plant-based, naturally minded life!
*Salad Therapy is reader supported. As an Amazon Associate, I may earn a small commission from qualifying purchases – at no extra cost to you. Making purchases through my links helps me continue providing you with free recipes. I only recommend products I would happily use myself!
Instructions
First, set up your oven racks so that they are evenly spaced in your oven, then preheat your oven to 350 degrees Fahrenheit. Line two baking sheets with parchment paper, and set them aside.
Then, place your tortillas in one stack on your cutting board. Using three cuts for the whole stack, cut the stack into 6 wedges (like a pizza). The knife will easily cut through all ten tortillas at the same time, but just make sure the knife makes complete contact with the cutting board so you don’t end up with any ripped or poorly cut pieces at the bottom.
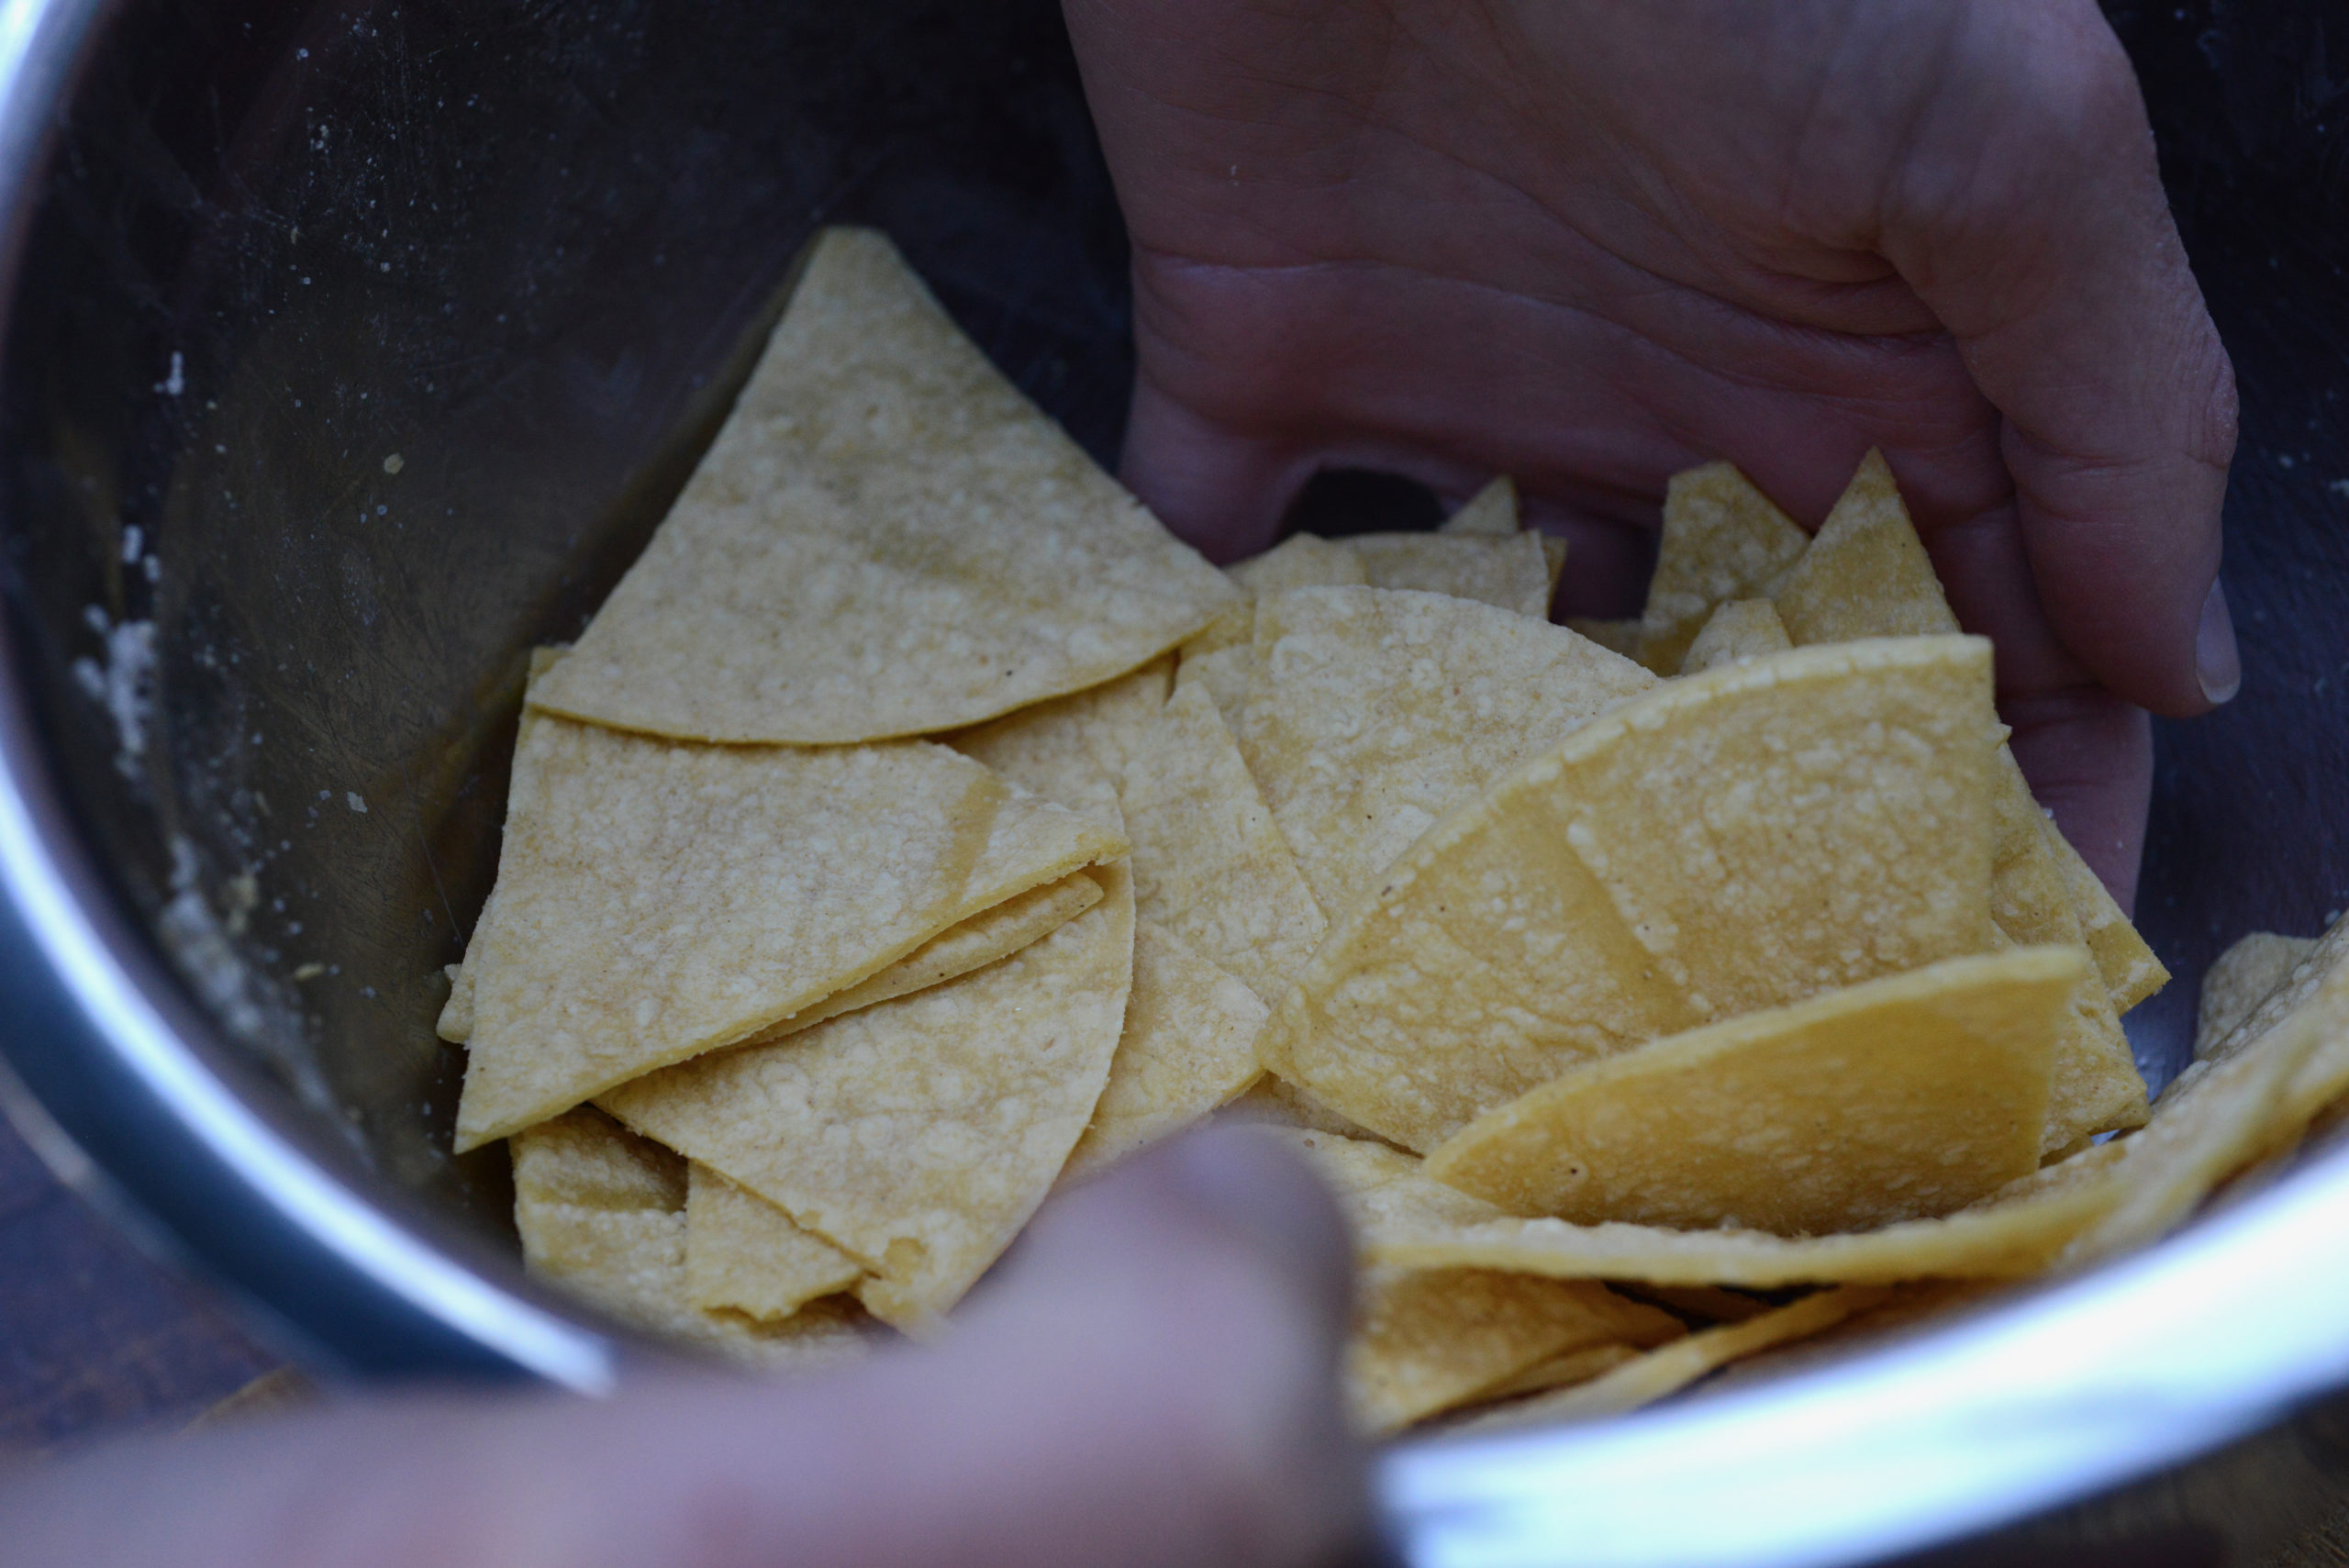
If using salt, transfer the tortilla pieces to a medium-sized bowl. Sprinkle the salt and water over the top of the pieces, then toss gently but thoroughly with your hands so that the salt covers the slices evenly.
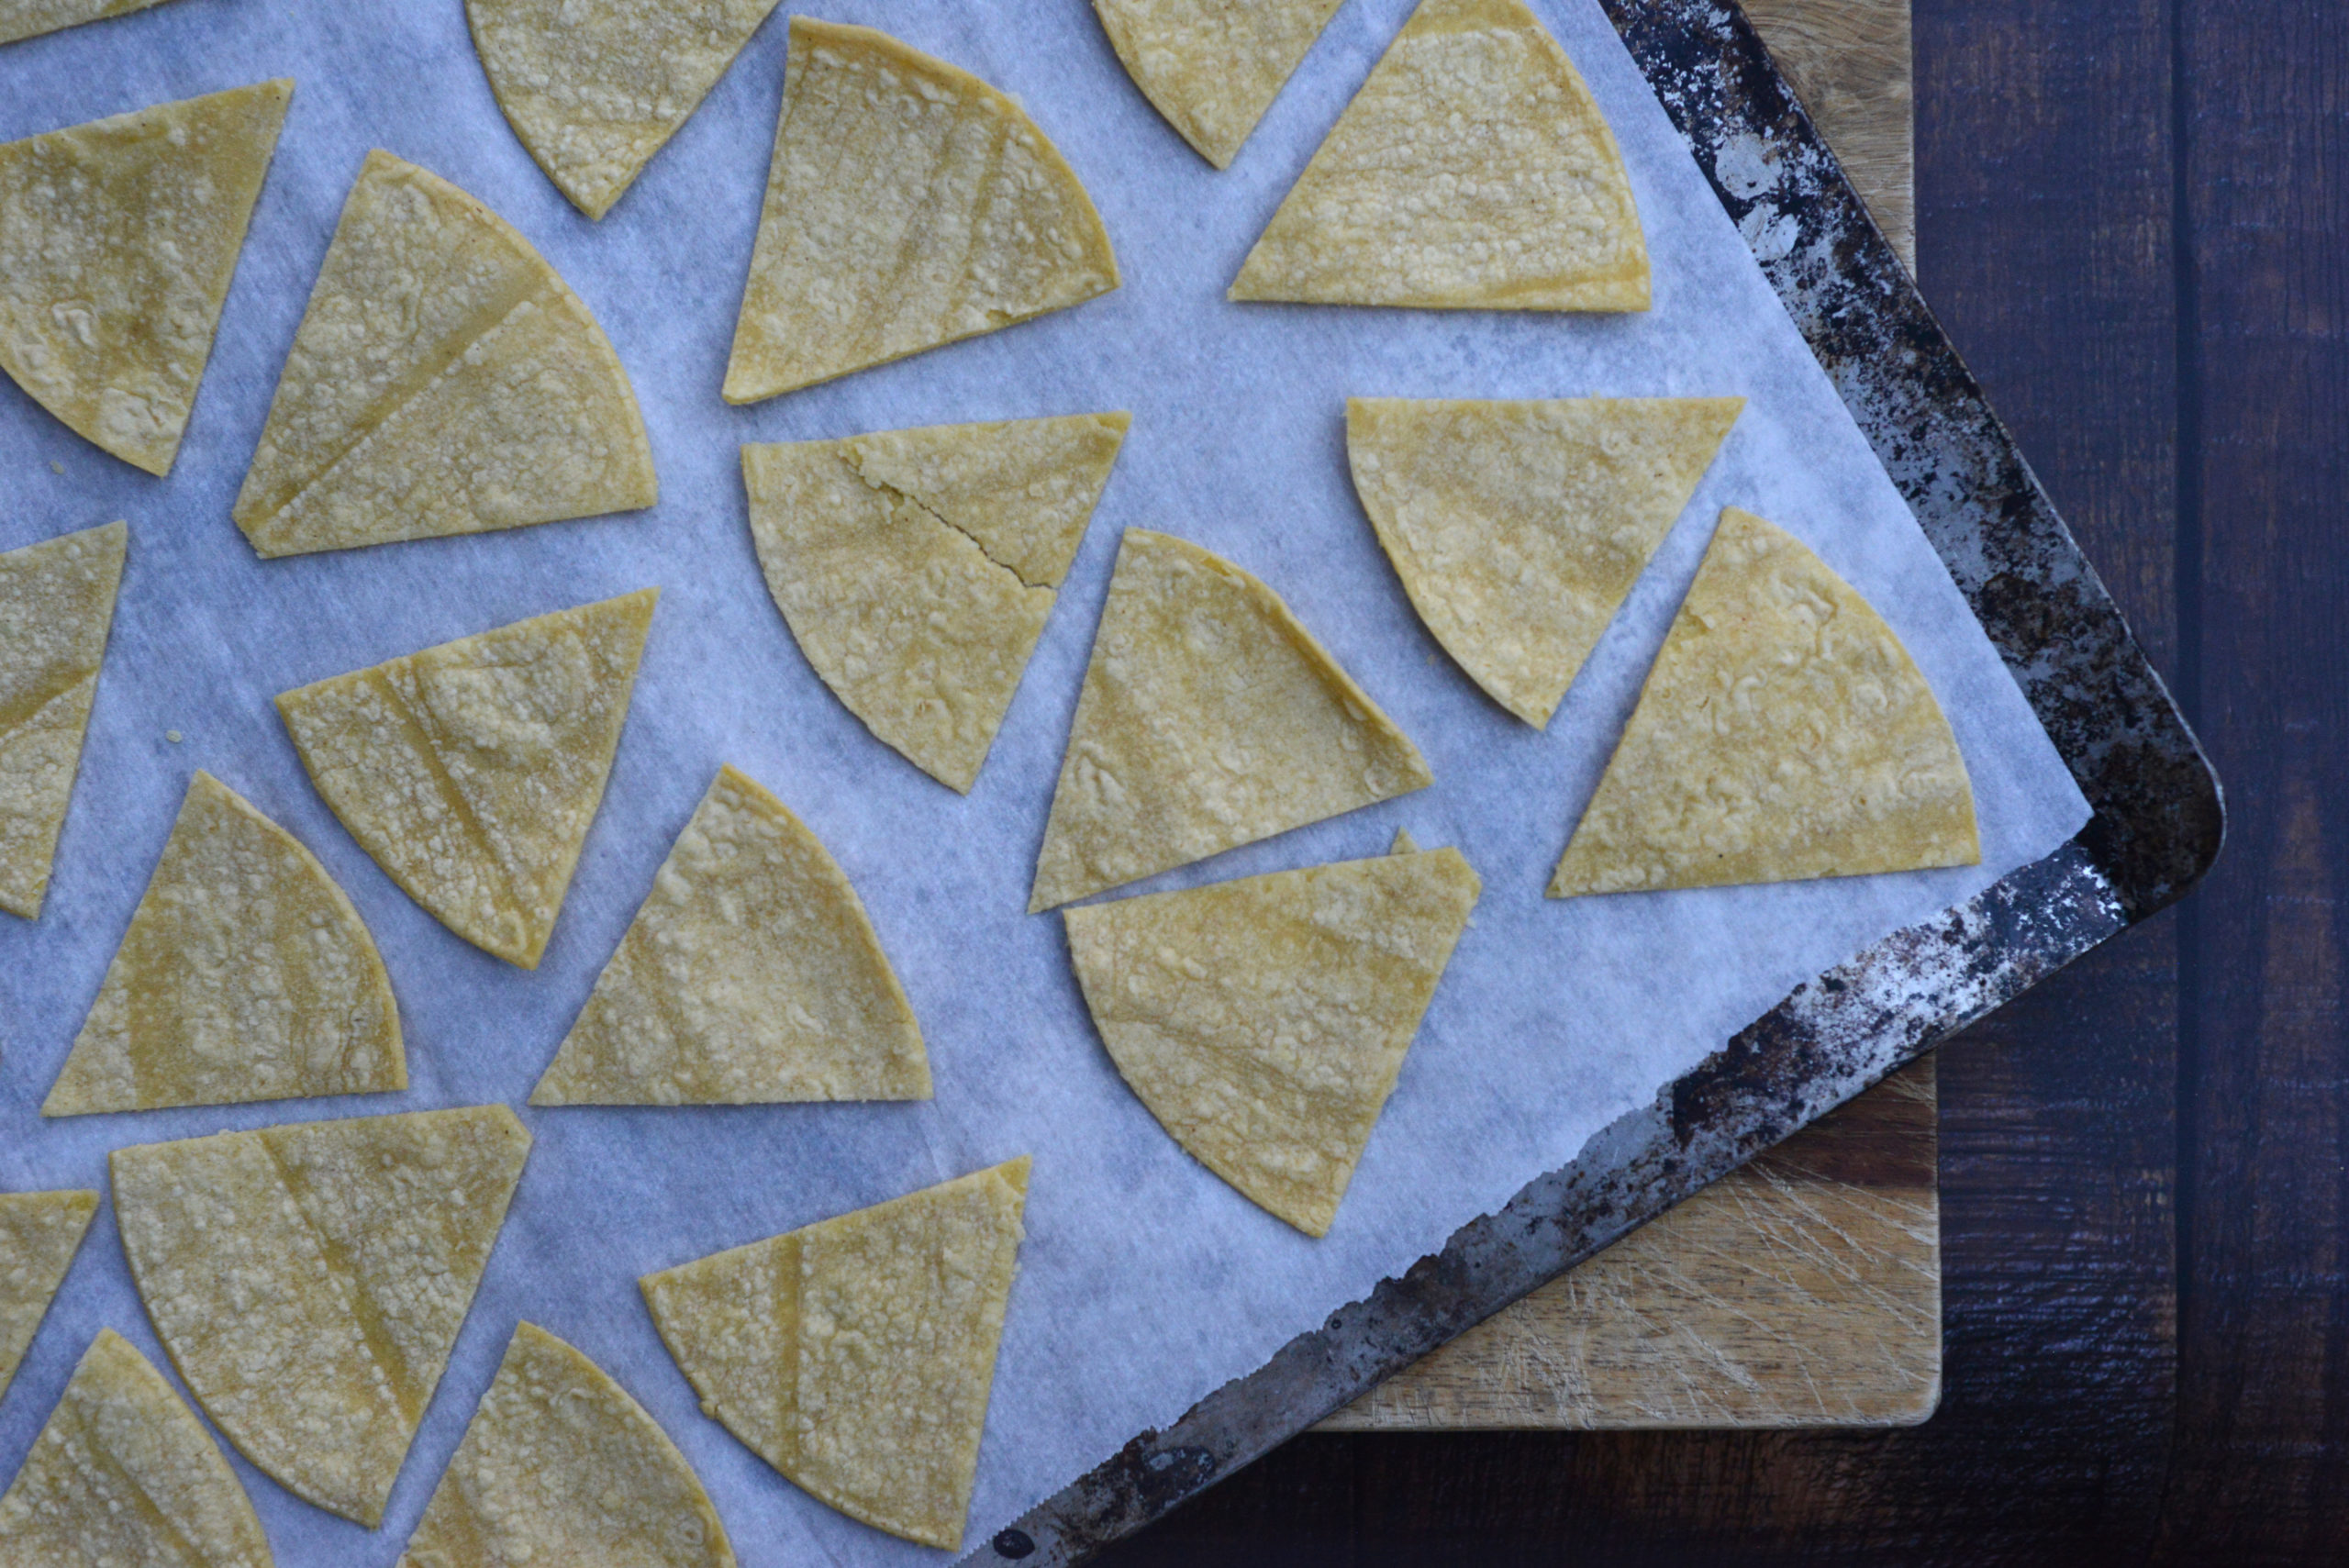
When you’ve finished mixing, or if you’re not using salt, divide your pieces evenly between the two prepared baking sheets, being sure that no pieces overlap. There will be 30 pieces per sheet. (I am usually not into being this exact, but it does help ensure the chips bake evenly here.)
Now put both baking sheets into the oven, and set the timer for 8 minutes. When the timer goes off, rotate your pans (putting the top pan on the bottom rack and the bottom pan on the top rack), and set the timer for another 8 minutes.
When the timer goes off, remove any chips that are ready – the chips are ready when they are golden brown and stiff to the touch. Then allow those that need more time to bake for another two minutes. This should be adequate for the whole batch, but if there are still some stragglers, remove those that are ready and allow the remaining chips to bake another minute or two. It is important to be very careful with the timer because these chips can burn very quickly.
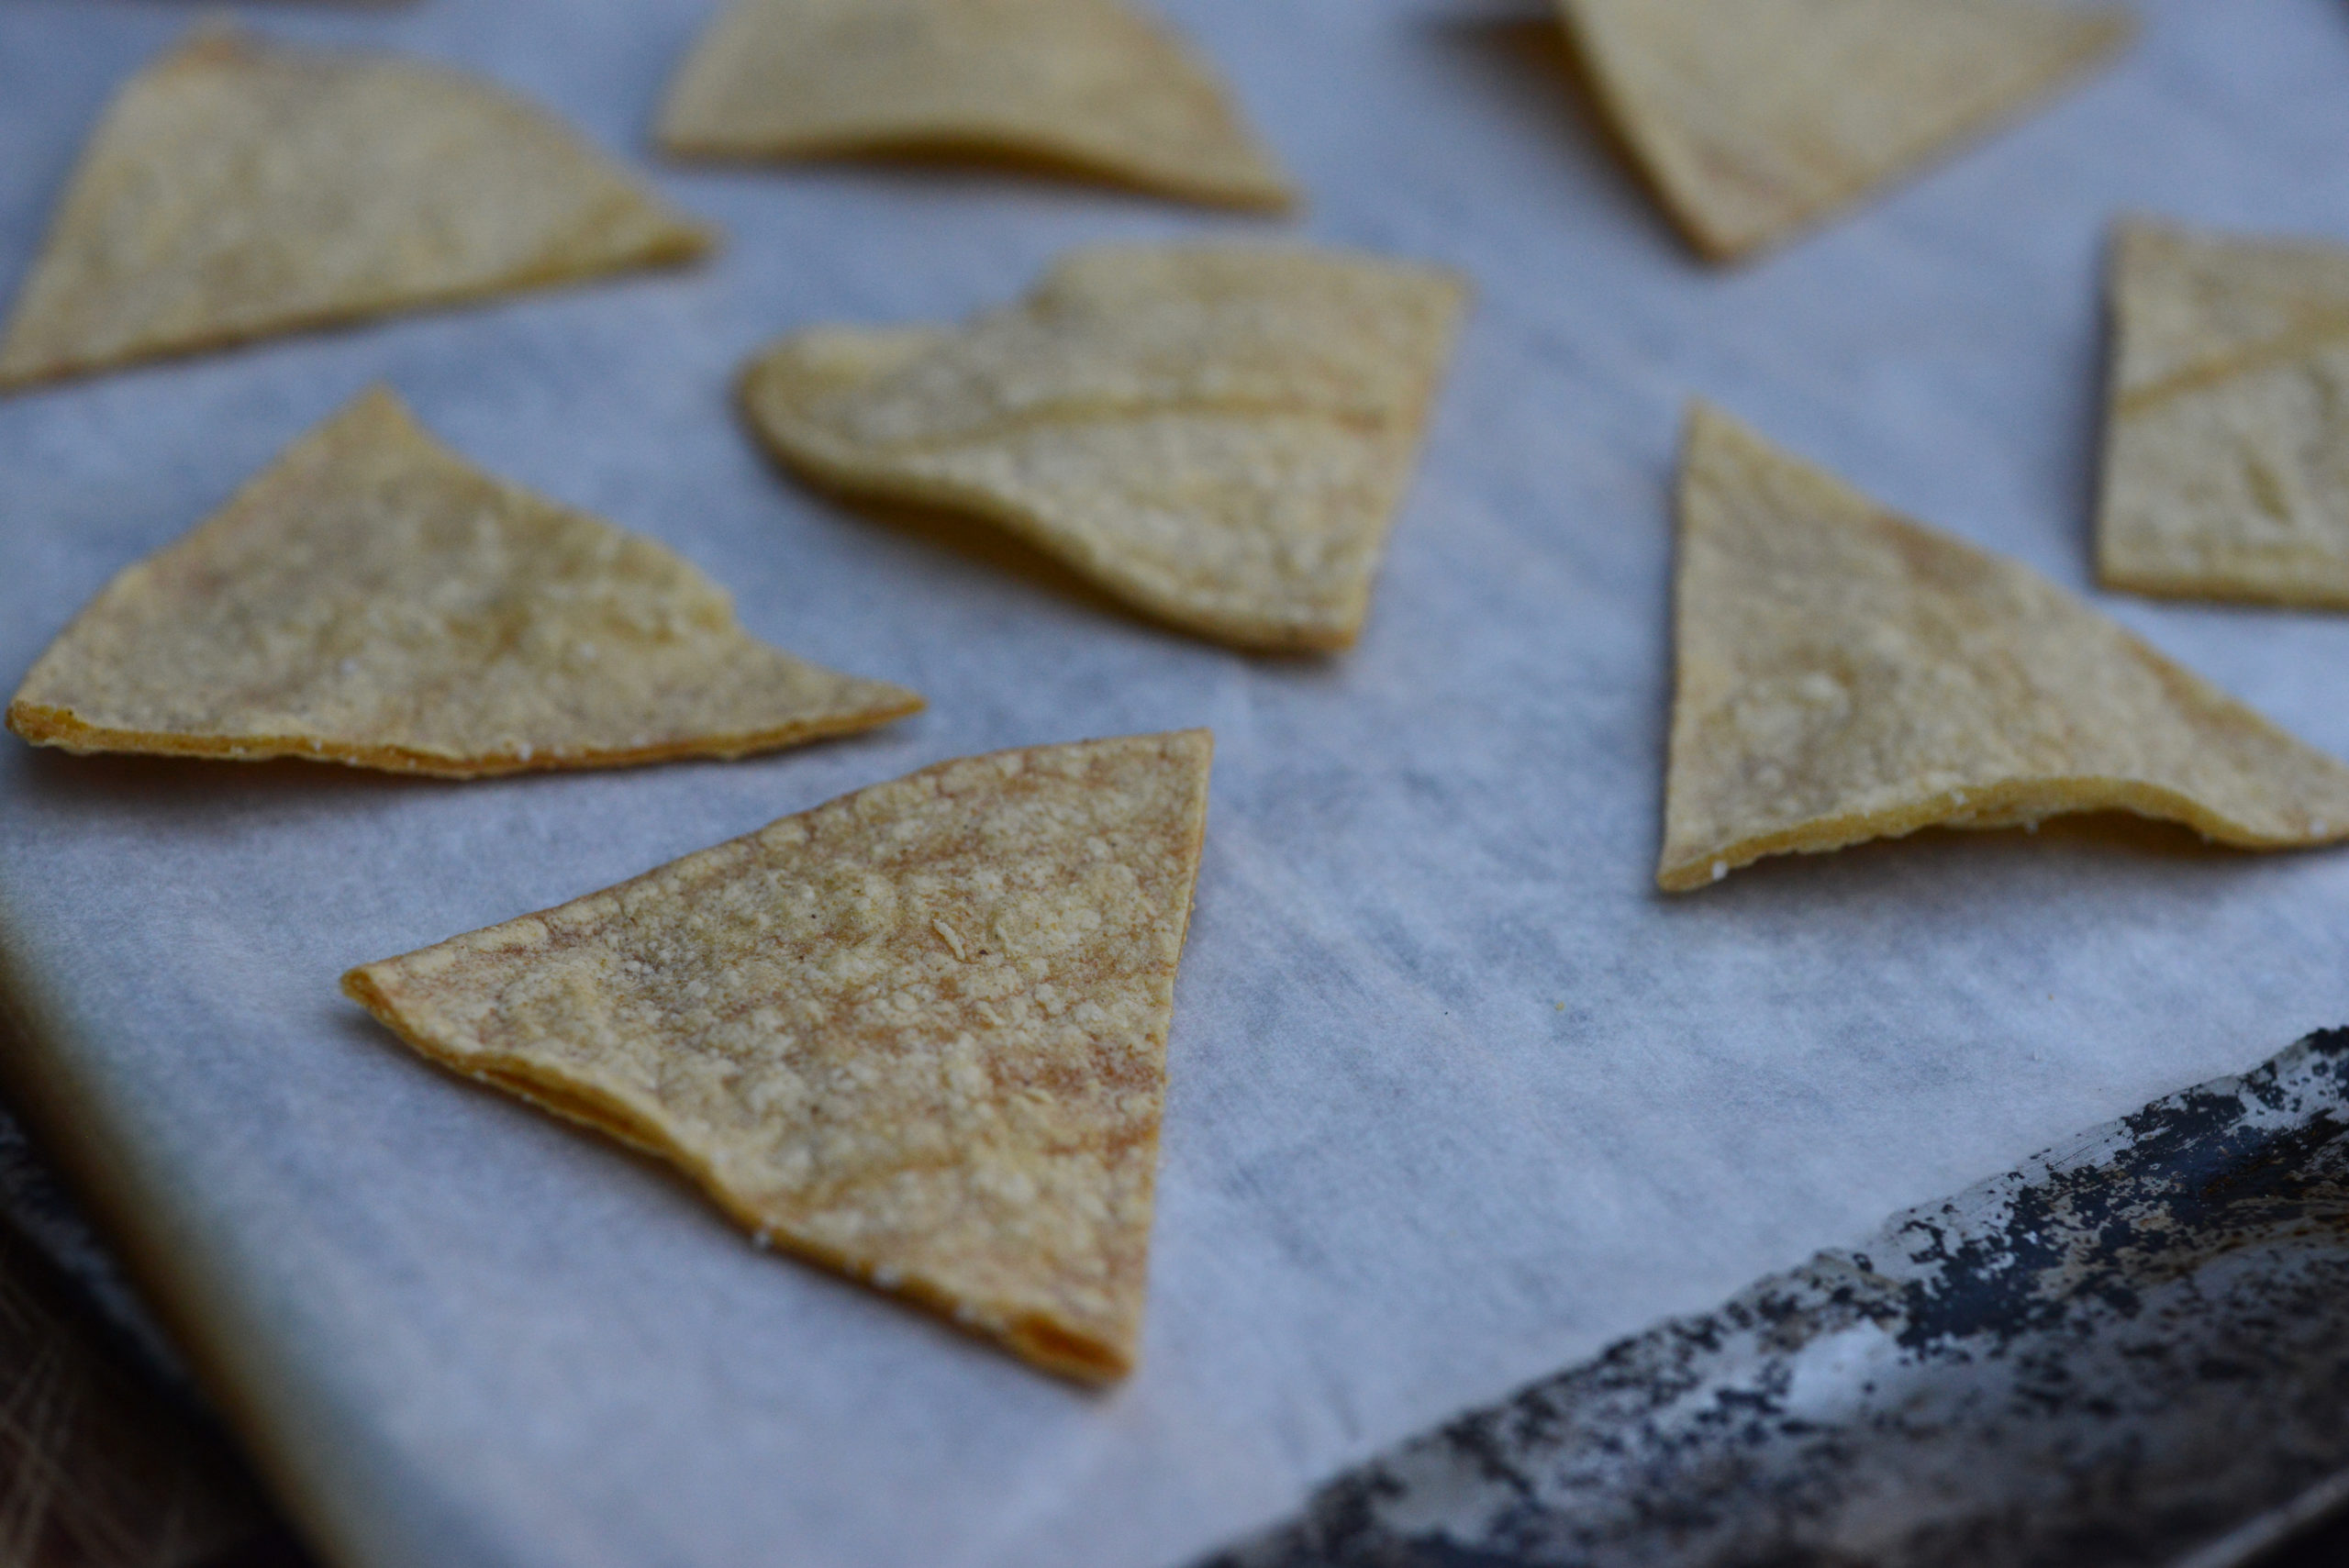
Allow the chips to cool, then transfer to a bowl, or store in an air-tight zipper bag. Or, you could just eat them off the pan!
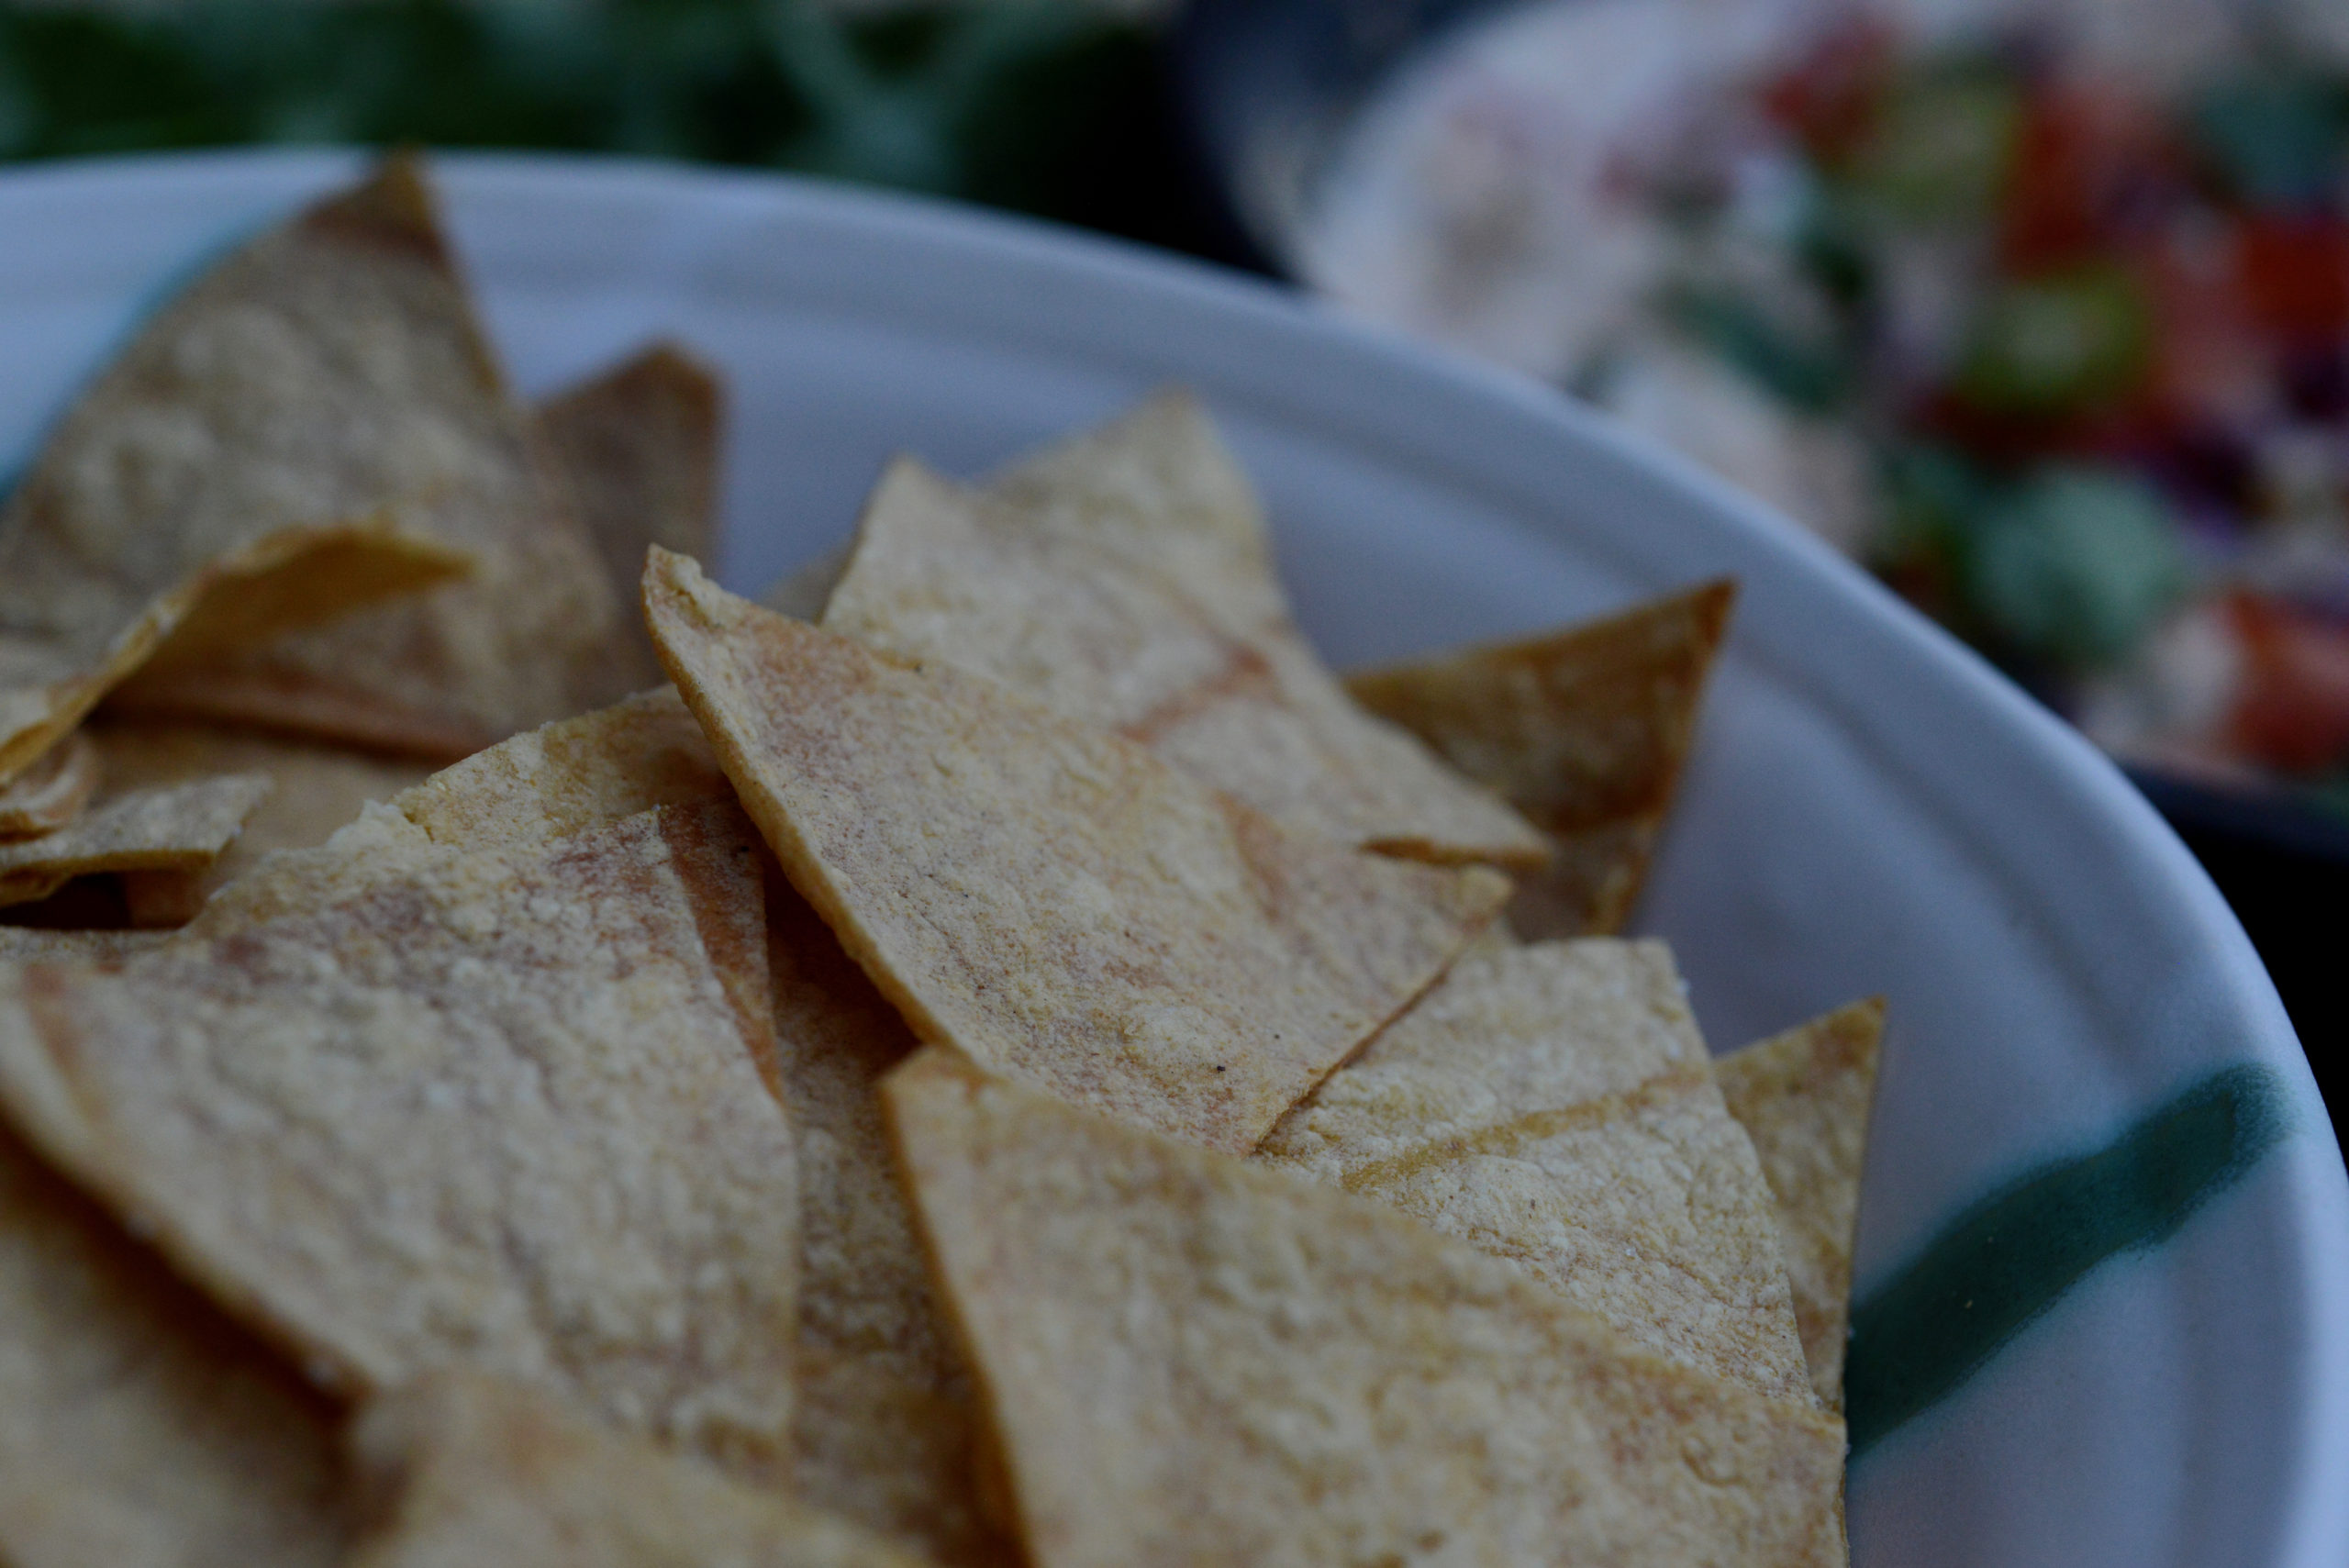
Enjoy!
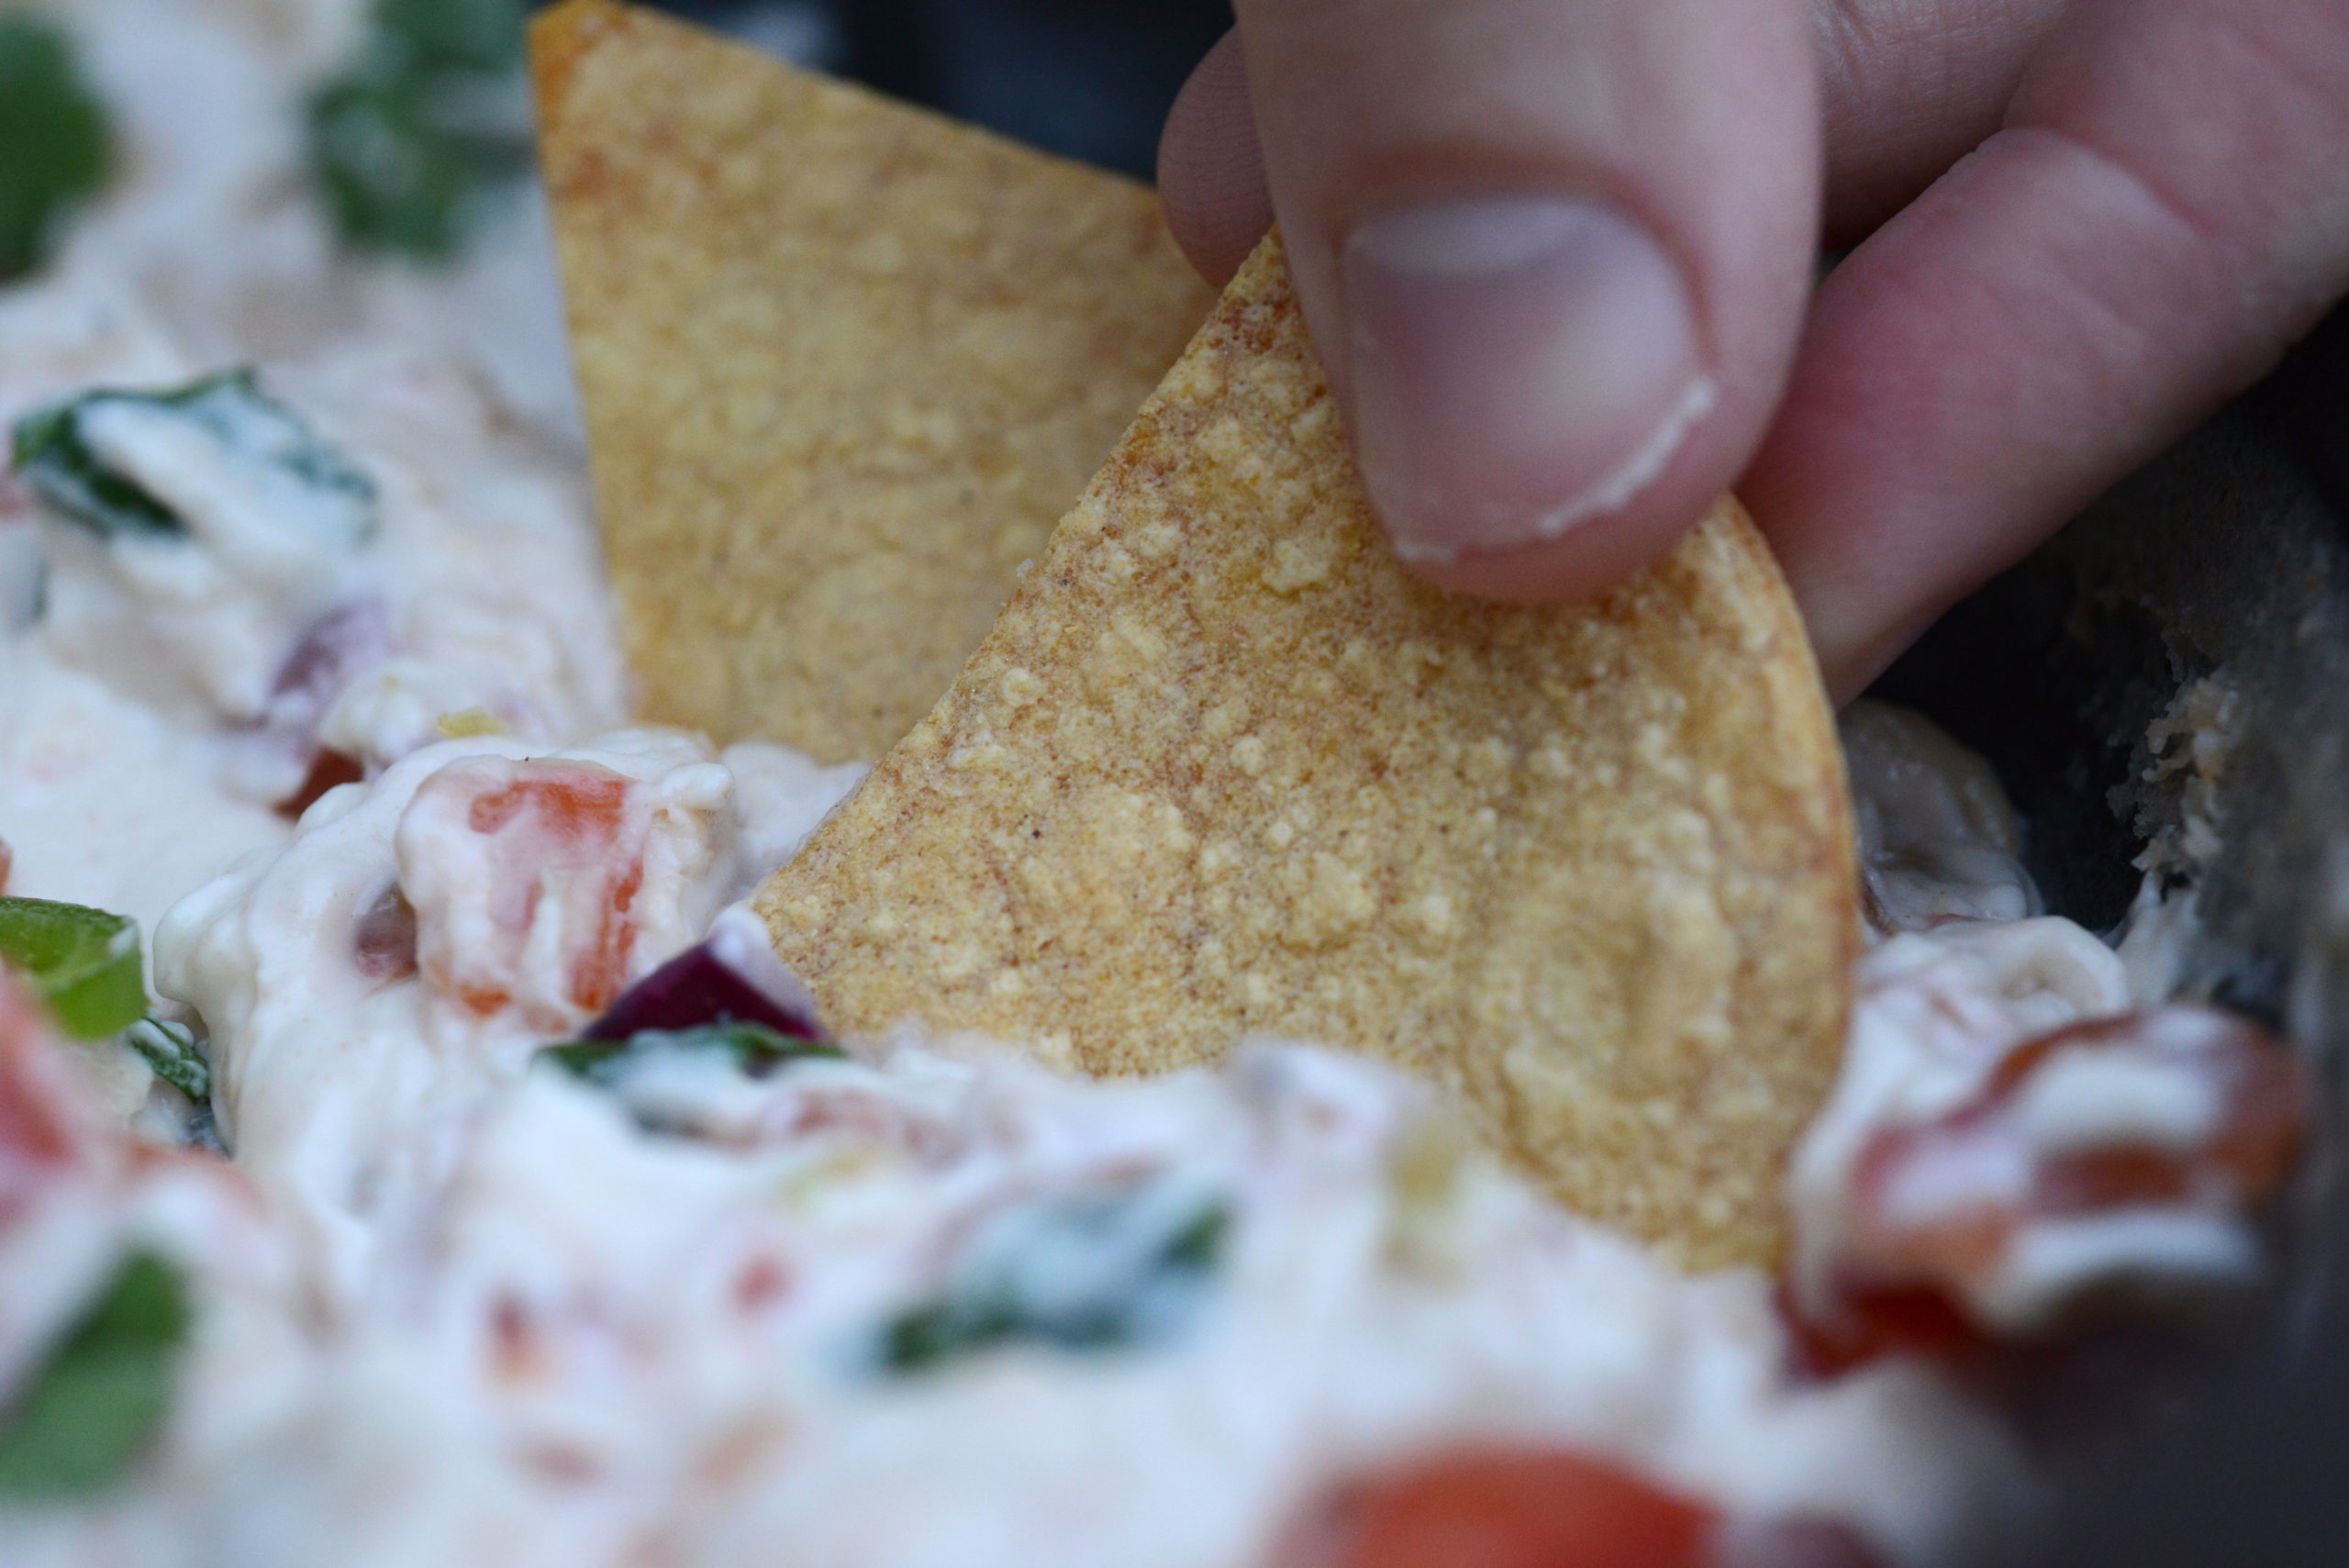
These tortilla chips would be perfect with:
The Best 6-Ingredient Vegan Queso Dip
Pico de Gallo [Fresh Raw Salsa]
Tangy Roasted Pepper Dip [Muhammara]
3-Ingredient Vegan Sunflower Seed Sour Cream
Roasted Red Pepper and Sun-Dried Tomato Hummus
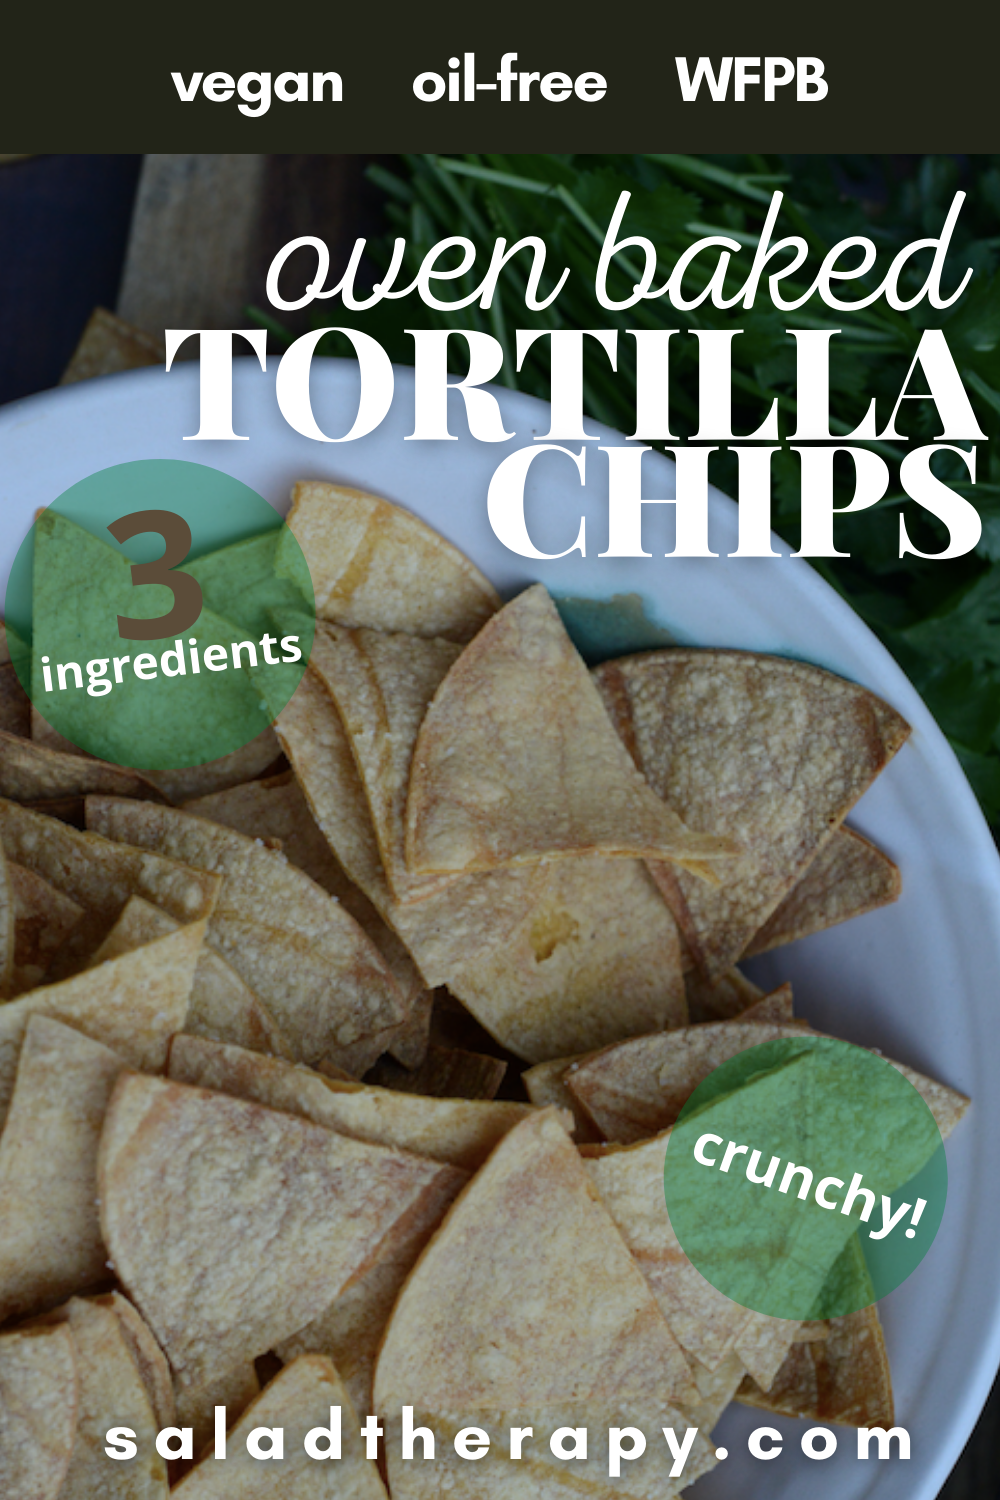
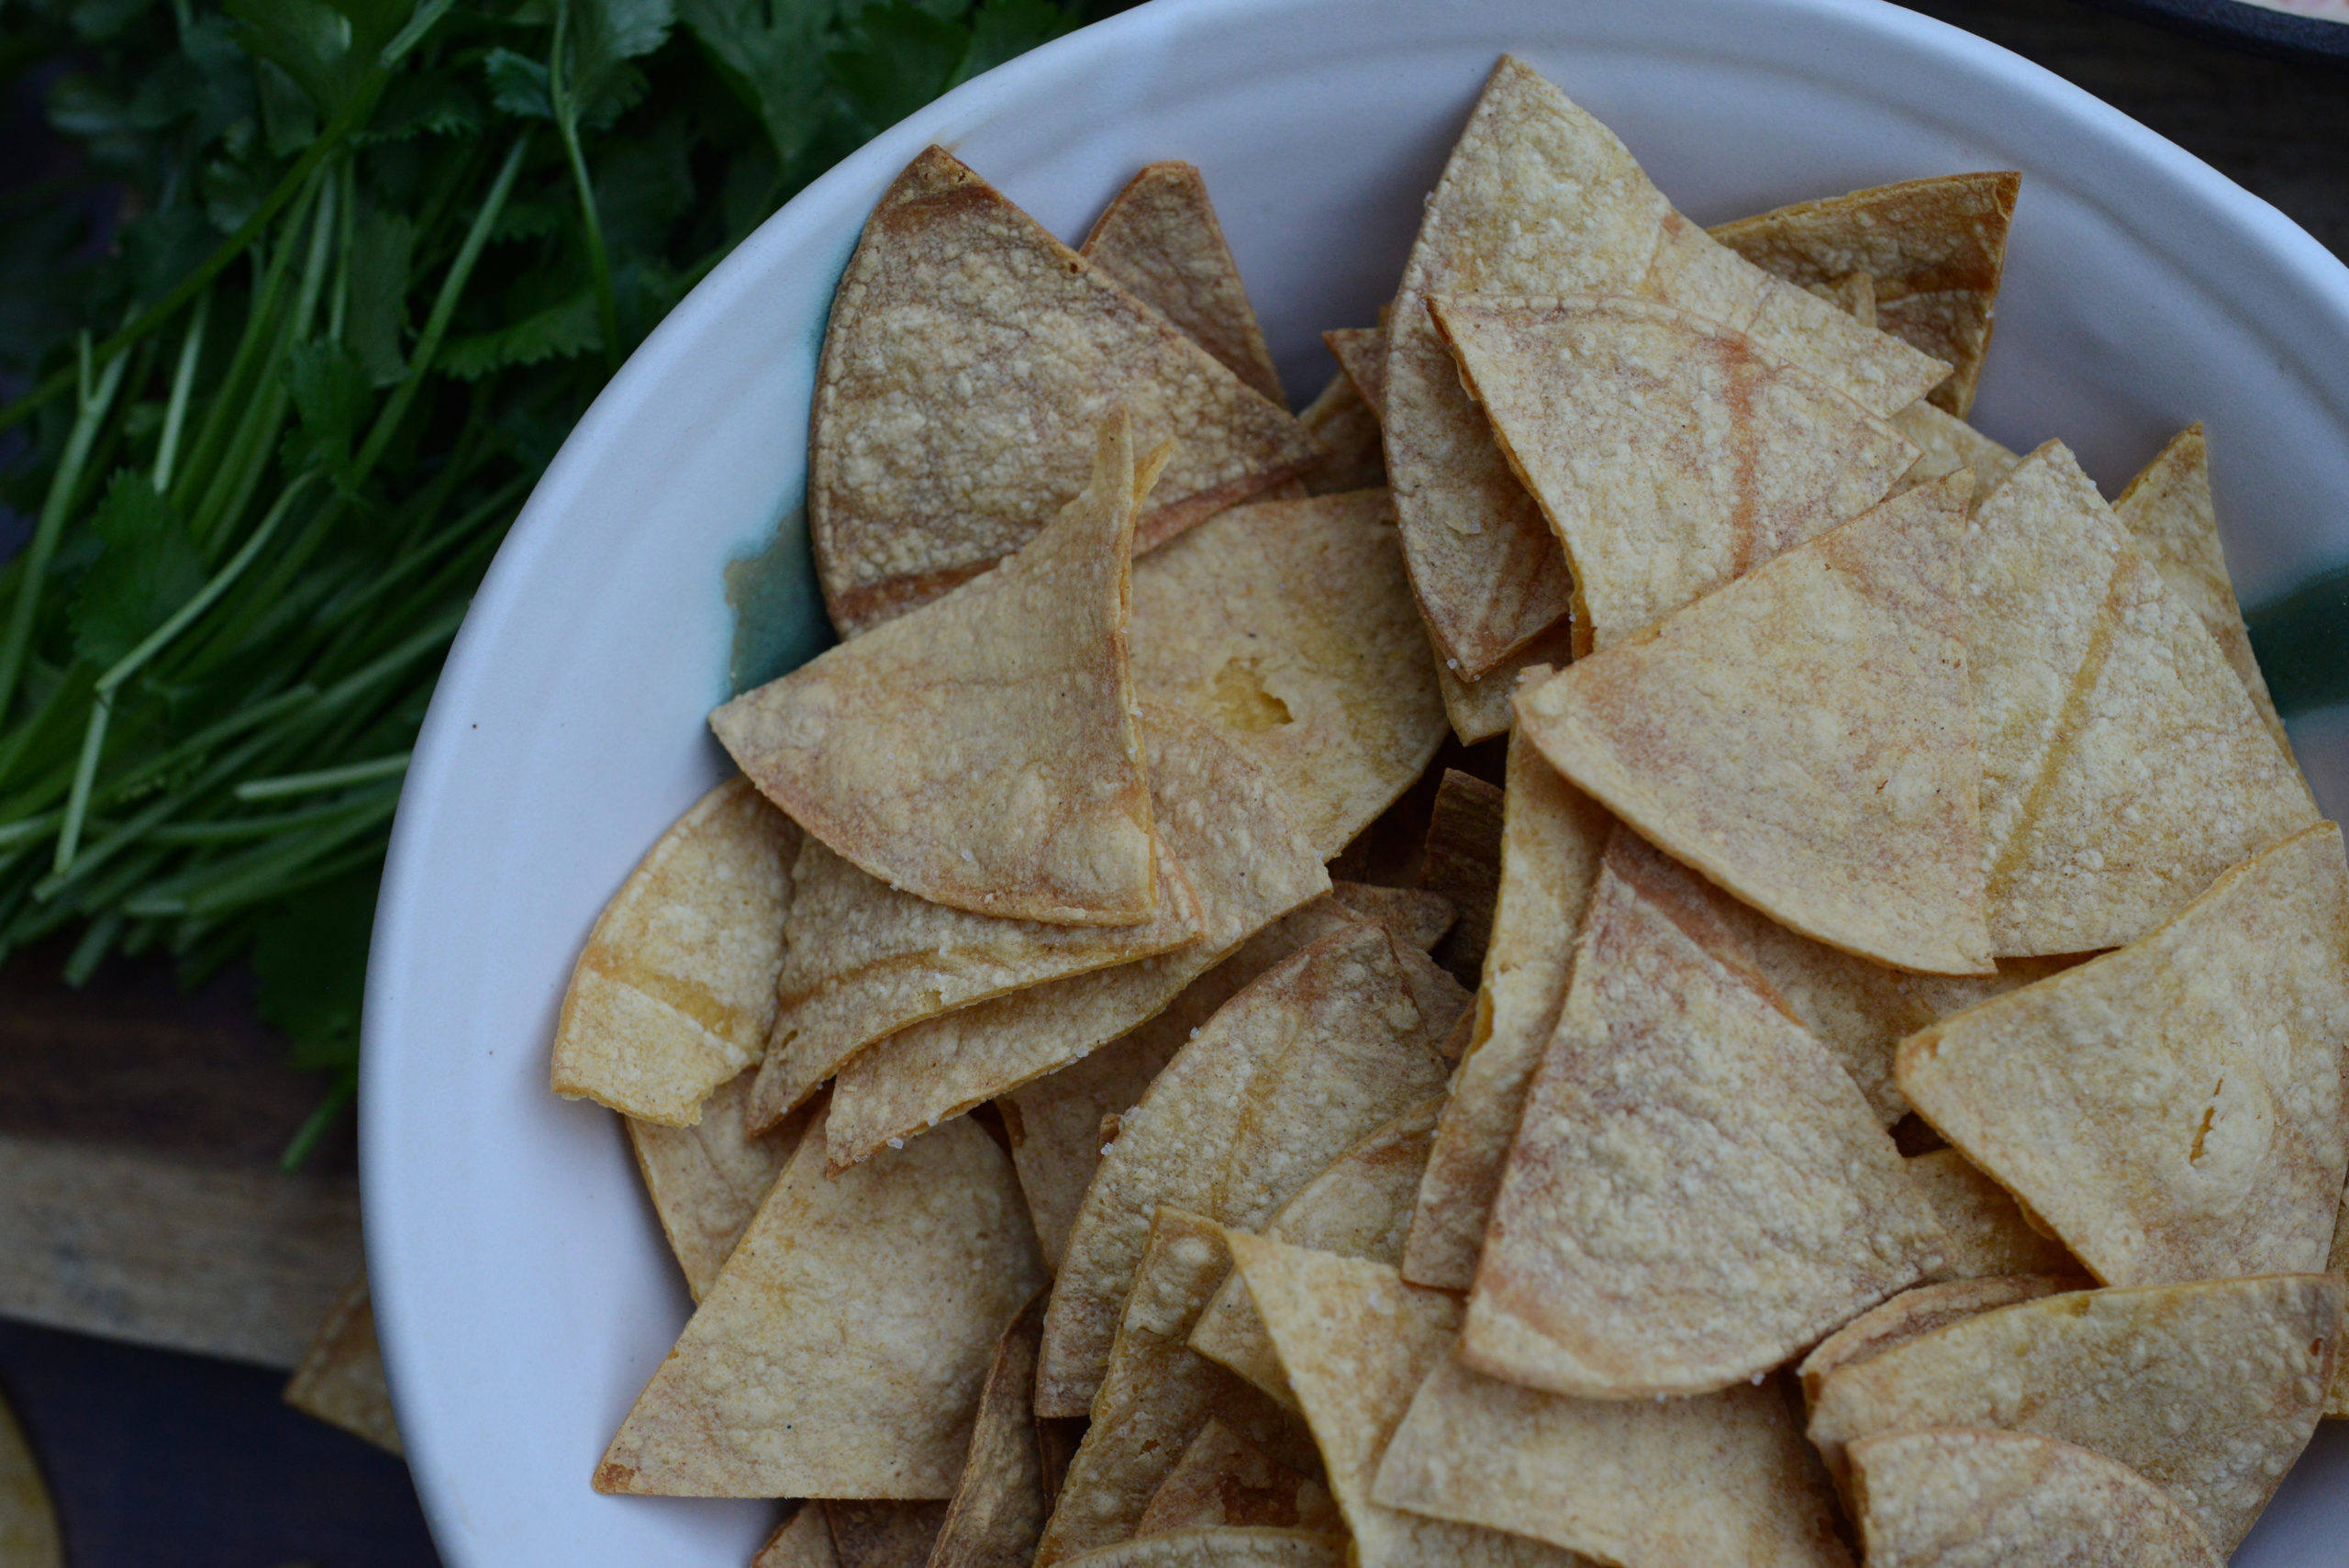
Oil-Free Oven-Baked Tortilla Chips
Ingredients
Method
- Set up oven racks so that they are evenly spaced in your oven, then preheat to 350 degrees Fahrenheit.
- Line two baking sheets with parchment paper, then set aside.
- Place tortillas in one stack on cutting board. Using three cuts for the whole stack, cut the stack into 6 wedges (like a pizza). The knife will easily cut through all ten tortillas at once, but make sure the knife makes complete contact with the cutting board so you don't end up with any ripped or poorly cut pieces at the bottom.
- If using salt, transfer tortilla pieces to a medium-sized bowl. Sprinkle salt and water over the top of the pieces, then toss gently but thoroughly with your hands so that the salt covers the slices evenly.
- When finished mixing, or if not using salt, divide pieces evenly between the two prepared baking sheets, being sure that no pieces overlap. There will be 30 pieces per sheet.
- Put baking sheets into the oven, and set timer for 8 minutes. When the timer goes off, rotate pans (putting the top pan on the bottom rack and the bottom pan on the top rack), and set timer for another 8 minutes.
- When the timer goes off, remove any pieces that are ready - the chips are ready when they are golden brown and stiff to the touch. Then allow those that need more time to bake for another two minutes. If there are still some stragglers, remove those that are ready and allow the remaining chips to bake another minute or two. It is important to be very careful with the timer because these chips can burn very quickly.
- Allow the chips to cool, then transfer to a bowl for serving, or store in an air-tight zipper bag.
- Serve with your favorite dips and enjoy!
RATE & COMMENT